I drilled the holes thru the bracket, wedge, rib, and suport arm up to #12 size for the AN3 bolts. I used some scrap material to drill to the center rib in order to locate the canopy support arm and make a cutout for the arm to go thru. This method worked well, so I measured and drilled a cutout in the top skin. This also worked out well. I cleaned up the cutout area with the die grinder. I used a steel pipe in an attempt to roll the top skin a little more on the sides. This worked pretty well. I clecoed the instrument top skin in place and applied duct tape to the left side of the top skin in an attempt to pull the side down for drilling to the longeron. This did not work very well, so I wrapped a cargo strap around it. I inserted a few blocks of wood between the strap and the skin in order to pull the skin down tight. I used a 12" #30 drill bit and back-drilled a few holes thru the longeron and skin.
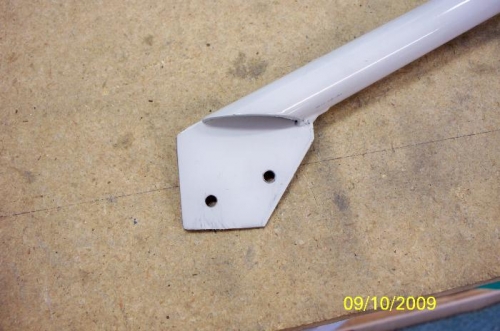
The bolt holes drilled thru the support arm
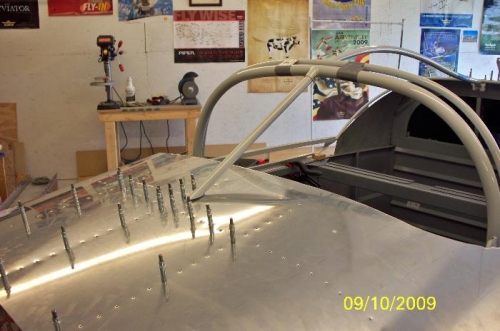
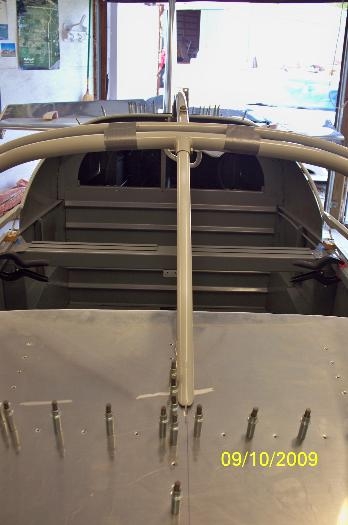
The top skin with the notch cut out for the support arm