Brief Description: Almost Completed Working the New Floor Panel
Had to enlarge three screw holes in the right floor panel. After drilling the four corners for the right crotch strap hole, I used a cut-off wheel in the Dremel to open up the hole. Had to file it a little larger so that the strap buckle can fit thru the hole. Positioned and drilled the manual trim bracket to the center ribs. Used the hand squeezer with a flat set to level out the original dimpled holes for the trim bracket in the ribs, then I put in the dimple set for the #8 screws and dimpled the new holes. I reinstalled the left floor panel and, using the #21 strap duplicator, drilled the screw hole for the trim bracket. I took off the left floor panel and reinstalled the right panel. I used the strap duplicator again and drilled both holes for the trim bracket in the right floor panel. Deburred all holes. I took the trim bracket apart and cut the slot in the side of the bracket. I forgot to do this when I first assembled the bracket. I drilled a pilot hole in the right floor panel for the bracket to come thru the panel.
Visitor-Lenny Neumeyer
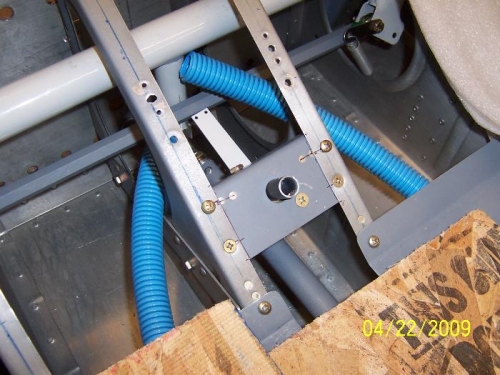
Aileron trim bracket in its new location-Old holes are above it
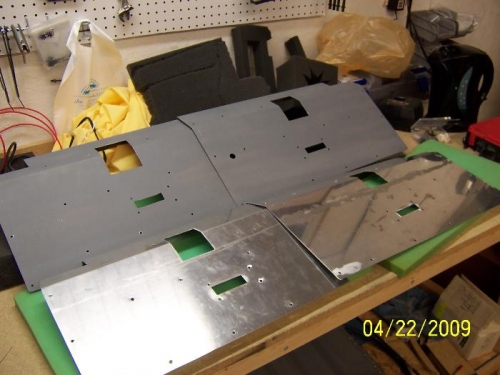
The old and the new floor panels
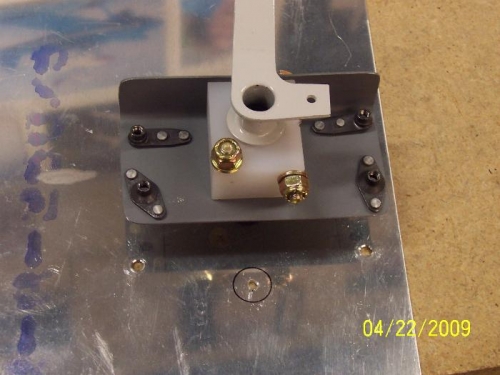
The aileron trim bracket positioned on the floor panel