
|

|
|
|
Greggs RV-4
|
Date: 1-29-2012
|
Number of Hours: 2.50
|
Manual Reference:
|
Brief Description: Started assembling RH aileron
|
|
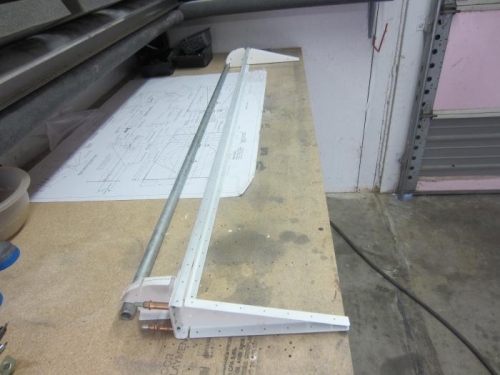
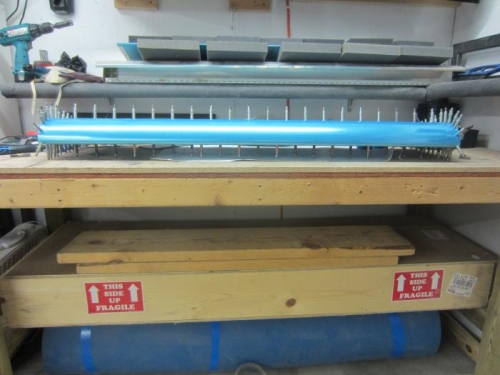
Today I was able to back rivet the skin stiffeners to the skin. Afterwards, I riveted the counterbalance to the nose ribs, and then riveted the end ribs to the spar. The clecoes that you see in pic #2, are where the 406 and 407 aileron mounts/brackets go. I used the nose skin as a template to match drill the rear skin to the spar. I then clecoed the aileron together, starting at the top, and working my way around the nose ribs. The hardest part is getting the bottom row of holes in the nose skin, to line up with the predrilled spar. It is tedious, because the middle layer, (rear aileron skin) is not predrilled. You have to measure about 40 different ways, (none of which allow you to see the holes in the spar) and hope that the #40 bit doesn't egg out the holes in the spar. Mine worked out fine. I'd say 3 or 4 holes are out-of-round, but once the lower holes get drilled out to #30, I'll have perfect round holes. As of right now, the aileron is ready to come apart one more time, deburr, and dimple, and back together for riveting.
|
|

Stiffeners have been back riveted to skin
|
|
Skeleton riveted together
|
|
Skeleton drilled to skin, ready to rivet together
|
|
|
|
|
|
|
|
|
Copyright © 2001-2024 Matronics. All Rights Reserved.
|