Very re-interative process of trimming and fitting but there is a method to the process. It seems from the many websites and posts on this subject that a better instruction could be provided.
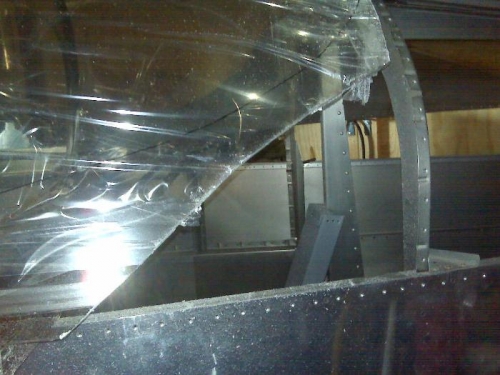
In summary it seems that the canopy is trimmed around the edges to remove molding 'excess' and then inserted in the baggage window against the baggage aft bulkhead, then lowered down on the 'bow' and/or rollbar and rests on the skin of the canopy frame area. Could be described as being 'shoehorned' in an inverted spoon shape, starting at the baggage bulkhead.
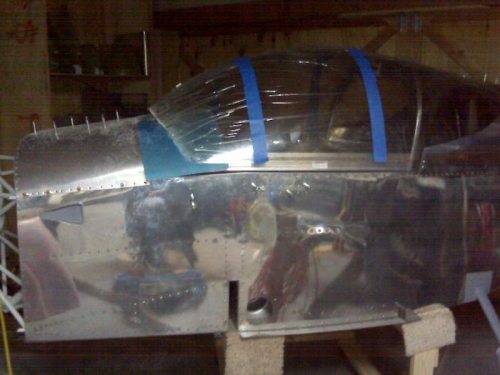
The goal is then to remove material from the forward end where it rests until the bubble finally fits smoothly on the rollbar/bow of the canopy frame. At this point the aft end rises against the fuselage skin as material is removed from the front of the canopy plexiglass. Like a seesaw, the aft rises as the nose is lowered.
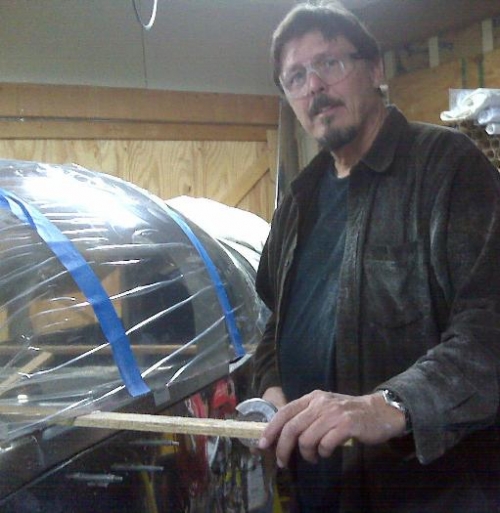
Since I don't plan to go further at this time the plexi will be removed and edges 'dressed' to avoid stree cracks. It's probably about 5-6 lbs lighter at this time than original, but still awkward to handle.
Now that I've seen the bubble, the canopy frame fit makes more sense. By the way, I placed 1x2" sticks across the longerons to support the canopy during the fit, and trimmed it 'in place' but raised enough to safely cut it. It helps to be tall for that process.