
|

|
|
|
RV-6A - GBC
|
Date: 9-30-2006
|
Number of Hours: 1.90
|
Manual Reference: Dwg #43a
|
Brief Description: Brake cylinders - attach
|
|
Cranked up my confidence and decided to commit to drilling the bottom master cylinder attach bolts. Used a 3/16th short drill bit to replace the bottom bolt and swung the arc of the brake cyl to determine the intersection of the arc with a line 1/2" from the front/back of the pedal tab - marked prior to fitting. Progressively drilled hole from #40, #30, etc, ... to 3/16" for the bolt. Repeated all steps for the right pedal, clamped, centered, and completed the co-pilot pedals.
Note that the entire rudder control assembly is clamped off the edge of the workbench, and that the right weldment (WD-655R) is forward of the left weldment (WD-655L) tube.
This alignment process is illustrated well on Dan C's website (www.rvproject.com) and in the Orndorff videos. It appears to differs from the procedure in the Updated Plans (Page 8.17 ?). This process allows the pedals to be completed and riveted before commiting to the location of the bottom brake cylinder bolt.
With great care, and a little Houdini, it is possible to insert the entire weldment, UHMW blocks included, into the fuselage and place the blocks on the longeron angles.
GET ANOTHER PIC of completed bolts ... do a 20 sec movie, too.
|
|
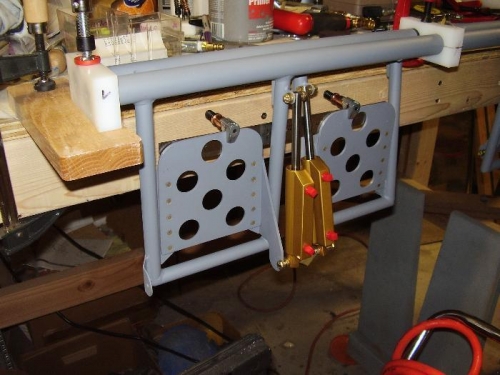
Pedals centered - cyl ready
|
|
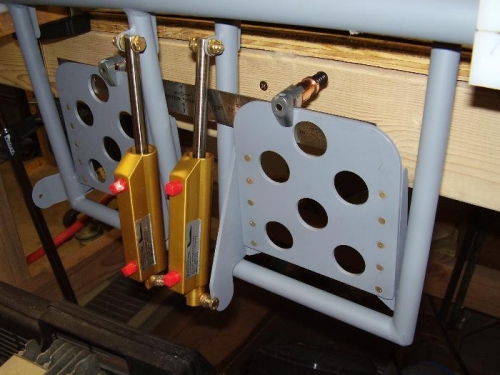
Another view
|
|
|
|
|
|
|
|
|
Copyright © 2001-2024 Matronics. All Rights Reserved.
|