
|

|
|
|
RV-6A - GBC
|
Date: 9-20-2006
|
Number of Hours: 3.30
|
Manual Reference: 7
|
Brief Description: Lt wing flap & brace
|
|
Side clecoed the hinge half for the left wing and positioned flap. Removed, trimmed hinge to length, and inserted hinge pin to attach to flap for measuring the rivet spacing. (Minor shift of two holes nearest the skin overlap - not visible.)
Re-checked hinge, brace and flap position on wing, disassembled and match-drilled the flap brace. Then positioned the flap brace on wing and back-drilled the wing skin, progressively clecoed and moved side clecoes to align. Disassembled, again, for deburring, countersinking brace, dimpling the skin. Countersink was a little more aggressive to allow hinge to sit flat without dimpling on the hinge. (See Rt Wing for more explanation.)
Alignment with aileron is very close but, as with Rt wing, the flap is slightly 'bowed' so it's NOT perfect. Will need to apply a little pressure (up or down) on brace to get the best vertical fit and drill the brace to spar. (#3 shows that the brace needs a 'little' tweaking on the step down.)
For fitting I just clipped on a piece of the UHMW tape between the flap nose and the underside of the top skin. I think that the UHMW tape is wide enough to be 'ripped' lenghwise and applied to the underside of the skin instead of the flap nose. Apparently these are two acceptable methods.
|
|
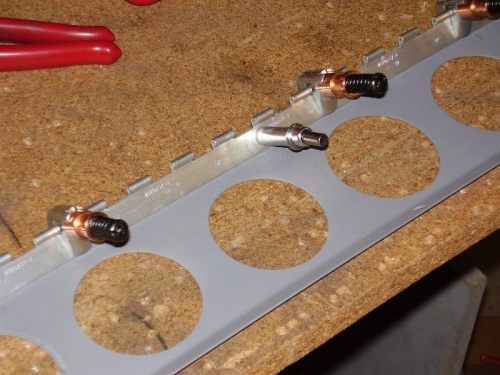
Match drilling brace
|
|
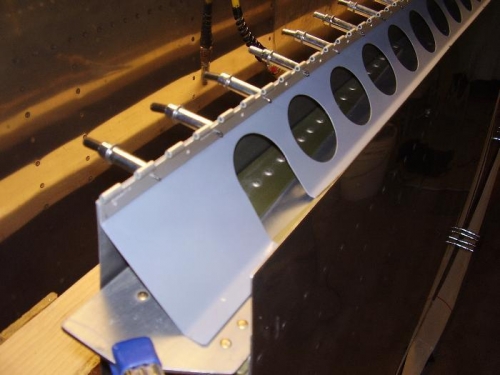
back drilled skin & clecoed
|
|
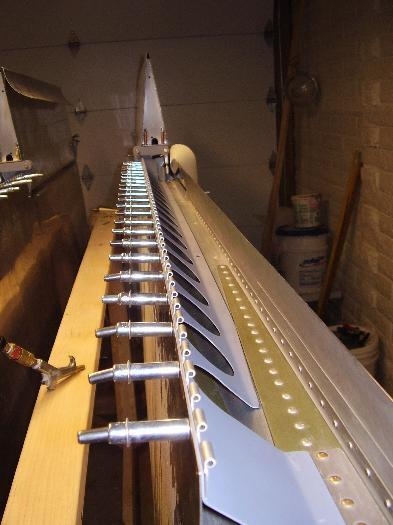
Alignment view
|
|
|
|
|
|
|
|
|
Copyright © 2001-2024 Matronics. All Rights Reserved.
|