Recv'ed the replacement hinge from Van's today - one hinge and steel pin (6ft) because only the wing halves of the hinges were missing. Already had the other steel pin.
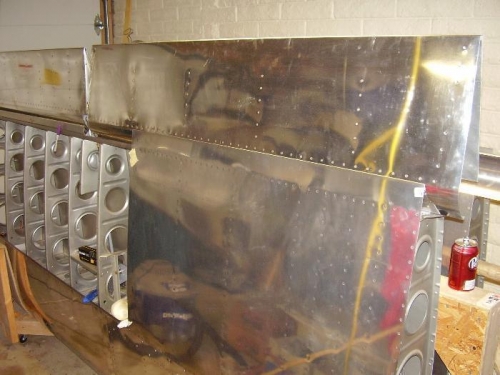
Side clecoed both ends of hinge in place on the wing side and inserted the pin with the flap positioned one "step" further inbd. This allowed room to clamp. After test fitting and marking, removed the pin, drilled a couple of #40 holes to "fix the position" and re-checked the position. Drilled flap hinge half at the same rivet interval as the wing side (slightly less than plans at 1 1/4").
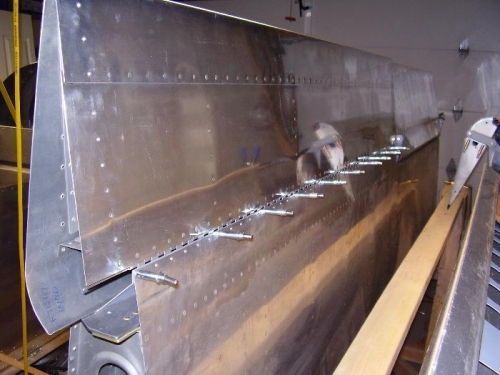
Re-clamped hinge with the flap brace in place (sandwiched in the middle of the hinge and bottom skin). Drilled through only one hole, and re-checked fit again. Disassembled and drilled through the flap brace using the hinge as a template. Then re-installed using the 'position' hole through all layers and progressively side-clamping, drilling, clecoeing, and moving from outbd to inbd ends.
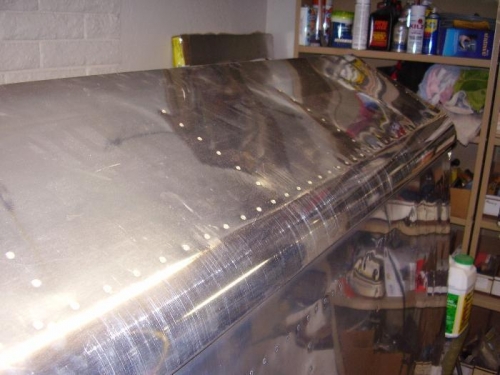
During the test fitting and movement of the flap the 'nose' became more scratched than expected. I had not applied the UHMW tape to the underside of the overlapping 'top skin' yet. Had to treat with ScotchBrite, and METAL polilsh. Flap alignment, fit, and movement excellent.