
|

|
|
|
RV-6A - GBC
|
Date: 5-29-2011
|
Number of Hours: 10.00
|
Manual Reference:
|
Brief Description: Wingtip, Rt - and control surfaces
|
|
Inadequate photographic record of the long and productive day, which started by installing the right flap and beginning the process of trimming & fitting. The top surface of the in-board end must be trimmed away to allow the flap to be raised. The bottom flap skin remains intact to cover the bottom of the fuselage and the hole in the side/bottom of the fuselage for the flap link. Of course, this trimming will also be determined by the 'sweep' of the wings, or the gap would be incorrect.
I went through an iterative process of trimming a little, re-installing the flap, and marking the edge again, then repeating. Likewise with the length of the flap link, it is iterative. (Flap link VA-256 is from the RV-9 'kit' shortened to fit. Item is already drilled for 1/4-24), no tapping needed.
Connected a12V battery to the electric flap motor and operated the up/down switch to cycle the flaps and check for smooth travel, and clearance. will have to repeat some of this when the wings are inserted for the last time at the airport.
Lastly, installed the Rt fiberglass wingtip, aligned and drilled. Secured with a few clecoes for the night. Have a few #6 c/s nutplates to start, but have ordered Vans supplies to attach the wingtips with SS screws.
|
|
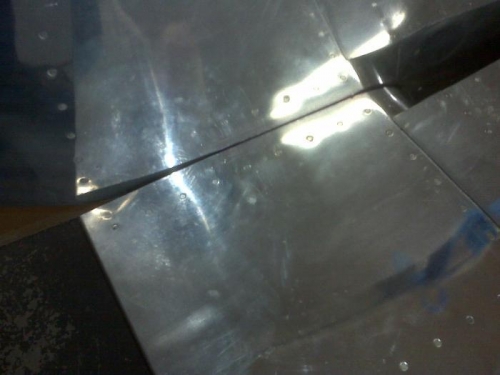
In-board flap - needs trimmed
|
|
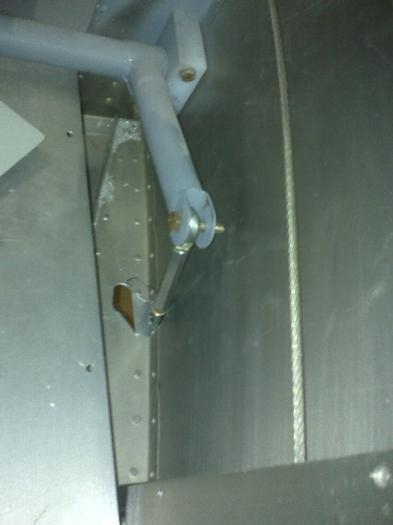
Flap linkage - raw cut
|
|
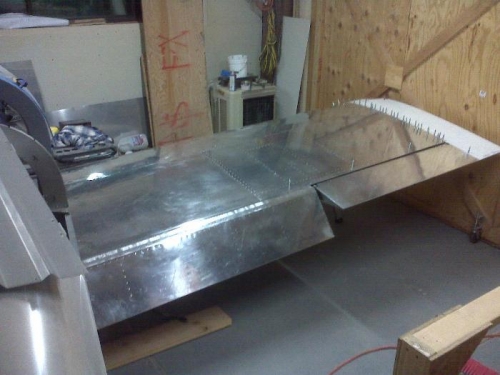
Fully extended electric flap
|
|
|
|
|
|
|
|
|
Copyright © 2001-2024 Matronics. All Rights Reserved.
|