Brief Description: Wingtip, Rt - and control surfaces
Started the day by trimming 1/4" from the aft fuselage skins along the vertical edge near the rudder. This included some trimming on the rudder stops, too. Also, insert a foarm plug in the VS top fairing, and match drilling to secure it. Ascertained there is no more interference on the rudder movement at the stops or fuselage skins. (more photos to follow).
Then re-aligned the left aileron, by fabricating a replacement bracket (??_ ) and lowering the outboard end slightly more than 1/8" to achieve proper chord alignment.
Inserted Dynon unheated pitot/AOA into mast and aligned for drilling the screw holes. (Later) and, made prelliminary bends on the AL soft tubing. Checked tubing and fittings. Need to order the AOA (blue) tubing for the installation. Need to remove left fuel tank and install blue/green pitot/AOA tubing.
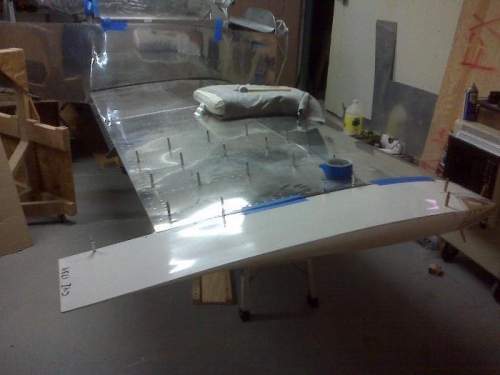
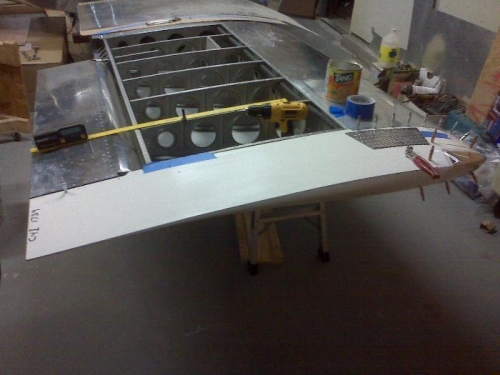
Finally, removed rudder. Moved airplane several feet to the left, and inserted the right wing. Only had one 'minor problem' when the control tube for the aileron caught on the fuselage skin and the wing 'seemed' to hang up ... D'uh. Minor dent in skin resulted.
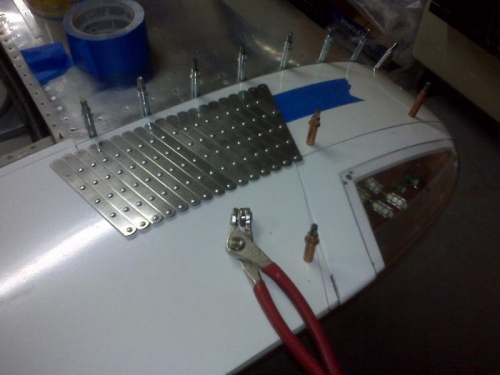
Then installed the Rt aileron and wingtip to align them. Had to adjust the aileron linkage to get proper chord alignment. Then installed the wingtip, aligned and secured a few clecoes before ending for the day. Managed to close the garage doors with the wings and tips!!!