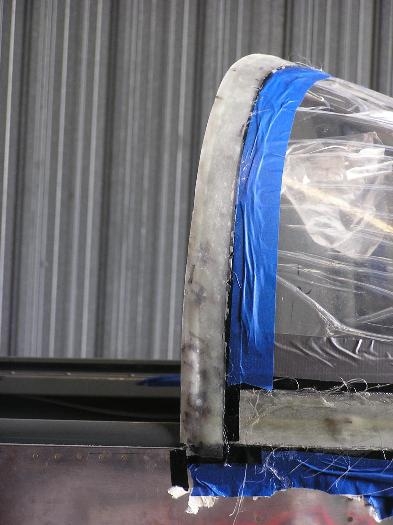
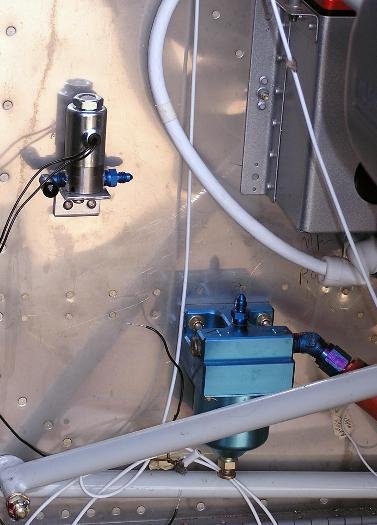
We had laid up the glass over the junction of the wind screen and canopy yesterday. The first thing that I did when I got to the hangar this morning was unlock the canopy and try to open it. At first it did not move and I was really worried. However we found that it was bonded to some electrician's tape and not the canopy and when we pulled off the tape the canopy opened, thank goodness. I don't know what we would have done if it hadn't. Image #1 shows the canopy open and the fairing in place. It will need sanding as will the front fairing of course. We had previously made a bracket for the electric primer solenoid but today we riveted it on and mounted the solenoid on it. The solenoid and the gascolator can be seen in Image #2. We will connect the 2 with 1/8th. inch copper tubing and then from the out board port on the solenoid we will run tubing to the T that goes to 3 primer ports. I will have to wire a push button switch on the sub panel and run wires to the solenoid. We have finally gotten a tach cable from Air Craft Spruce and we drilled a hole in the firewall and ran it to the backup mechanical tach. The cable was the right length. We then started on the alternator. I had gotten a Gates belt yesterday but when we put it on (a 7360) it was too long so back to the auto supply for a 7355 which much to my chagrin was also too long. The parts store of course didn't have a 50 but it should be in in the morning. We want to get the alternator fixed so we can put on the prop extension, spinner backing plate and prop so we can begin working on the cowling.