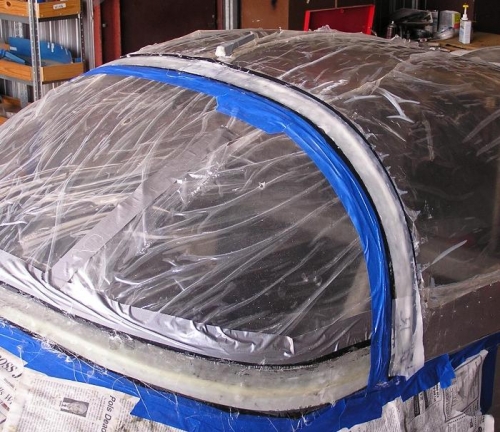
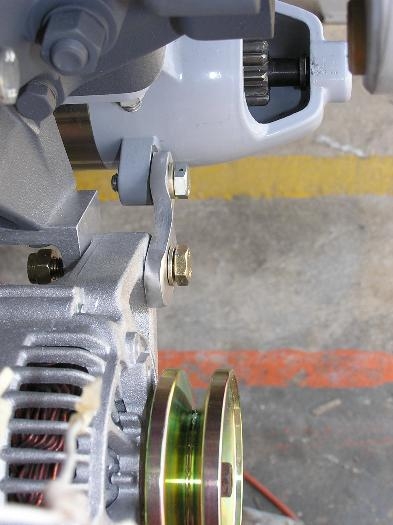
We cut some short narrow strips to go down at the bottom of the wind screen side skirt junction for we were low there. After 6 layers, we had the height up enough to then lay up the fiber glass. We had previously covered the canopy with packing tape and wax. We then laid up 5 layers starting with a 1/2" strip butting the canopy and then used progressively wider strips so that in the front the fairing would taper. However in the back we lined up all 4 layers so that they covered approximately 1/2" of the canopy. We again used West System epoxy with slow hardener. After pressing all the layers down, we covered them with Peal Ply. See Image #1. We now have all the fiberglass laid up for the wind screen and canopy. See Image #2. We will need to do a great deal of sanding and then painting on a layer of "raw" epoxy. We will let the fiber glass/epoxy set up for a couple of days before sanding. We will need to put the backing plate and prop on before we can begin on the cowling. So today we cut down and placed the brace between the alternator and starter in a vice and hit it repeatedly with a hammer. This was necessary to induce a "joggle" in the brace so that it would lay flat. See Image #3. I went by the auto parts store and got a Gates alternator belt so that we could put that on tomorrow.