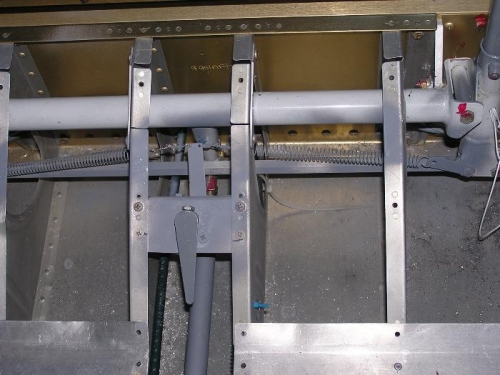
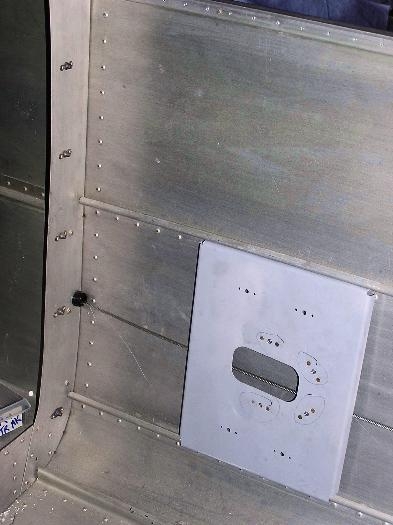
We finished installing the aileron trim today. We had removed and reinstalled the left flap pushrod but had not rebalanced the controls. Since we had to balance the controls for the aileron trim we did both today. Now all the controls seem to balance. We began installing the ELT behind the baggage bulkhead on the right side wall using Van's install plate. We will run the ELT cable, AOA flap position switch wires, and maybe the GPS antenna wire down the right side of the cabin. We have run the strobe wires from both wings and the power cord for the strobe down the left side of the cabin under the arm rest. I am trying to find some grey paint for covering plastic so I can paint the black conduit where it is visible on the cabin wall especially in the baggage compartment. We still have not hooked up the panel but we did connect the battery backup for the ADI and the ADI functions nicely. We are going must construct a shelf for the GRT AHARS somewhere up under the front deck. The magnetometer is already installed on a shelf behind the baggage compartment. The wires have been run up the tunnel and across the spar box but like many other wires, they have not been connected to the panel.