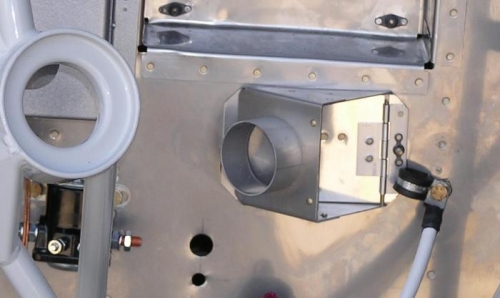
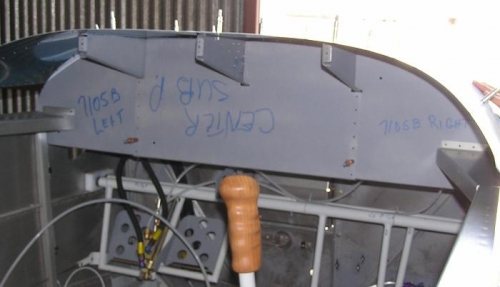
We installed the cabin heat control valve and sealed it with red RTV. (Image #1) We then drilled and riveted the angle and doubler to the center forward rib. The manual stated that the center rib with angle would fit through the center subpanel but we found that we had to enlarge the cutout slightly to get it to fit. We then installed all three ribs and the 3 subpanels and clecoed the forward skin in place so that we could mark and drill the center rib and angle to the firewall. The holes in the firewall for the left and right ribs were already drilled but we were afraid of misalignment of the center rib if we attempted to drill it without the skin to locate it exactly. We drill these holes in the firewall tomorrow....... The panel came today! It looks good. Maybe in the next day or two we will move it out to the airport and see how it fits. We should have the forward deck structure fitted by then. We will have to cut a hole in the central subpanel below the central rib for the radio stack and will also have to alter the left rib for the GRT EFIS.