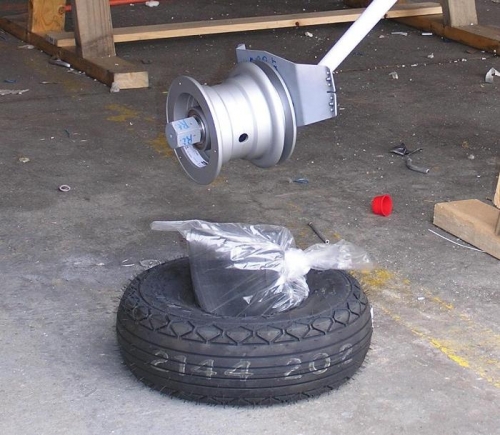
Brief Description: Drilled left axle and enlarged both holes to #27
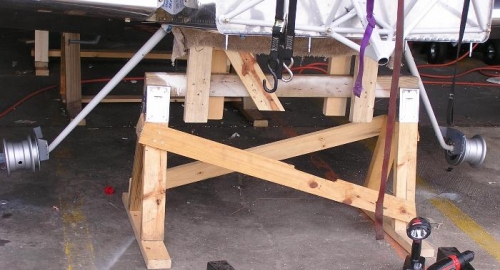
We learned much yesterday so that putting the left wheel on and drilling the axle was much easier. I read last night that many had had trouble using Van's suggestion of marking the axle using a center punch. They had the same difficulty as we did yesterday because the threads were deformed so that it was difficult to get the nut off. So at the advice of the folks who have gone before us, we used a 12 inch #30 drill and marked the hole by drilling through the nut with the wheel in place. Yesterday we had tried to do this with a right angle drill but it would not fit inside the wheel. The 12 inch bit fit well and marked the drill site without disturbing the threads. I then drilled the axle in place at the 3 & 9 position not straight through which turned out to be easier. The slow turning electric drill would the fit and it worked much better than the pneumatic drill that we had to use on the 6 o'clock position yesterday. ..... Again we used the engine hoist hooked to the engine mount to raise the fuse and it worked like a charm. I was so afraid to use wing jacks and I think because of the marked angle toward the tail, the plane might well have fallen off the jacks.