Brief Description: Wiring flap control switch & magnetometer
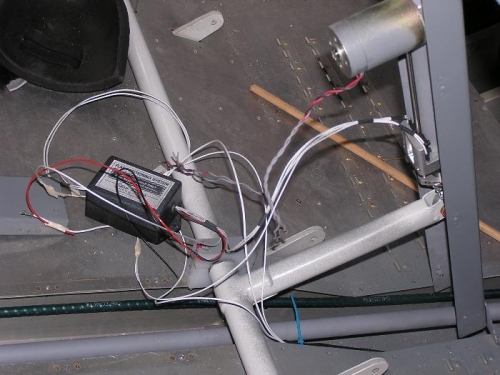
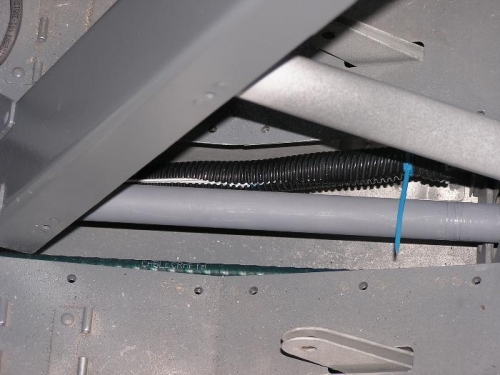
Today, we checked the magnetometer location with a cheap compass & found that we were too close to the canopy frame and so we installed 2 more nut plates back 5 inches further back and that seemed to correct the problem. We then installed the magnetometer and cable and passed the cable (5 wires) through the center tunnel and across the spar box. (See image #2) Then we passed the 3 wires to the flap control switch through the tunnel also. There was barely enough room. We then figured what wires go to what in the flap switch and marked them for butt connectors tomorrow. (See image #2) I had gotten a racheting crimping tool for use on all the crimp-on connectors but we found today that it needed adjusting to give a secure crimp and it should be ready to use tomorrow.....We then covered all the wires now running down the tunnel with split corrugated conduit (See Image #3) This bundle consists of the pitch servo cable, the flap controm wires, and the mangetometer cable. Tommorow we will use some stick-on plastic cable tie anchors to attach the conduit so that it cannot interfer with the elevator pus rod. We will reinforce the stickum with sheet metal scews. We are about to have a fit to put the wheels on but all this wiring has to be done and before we started on the wiring we really had a HUGE rat's nest.