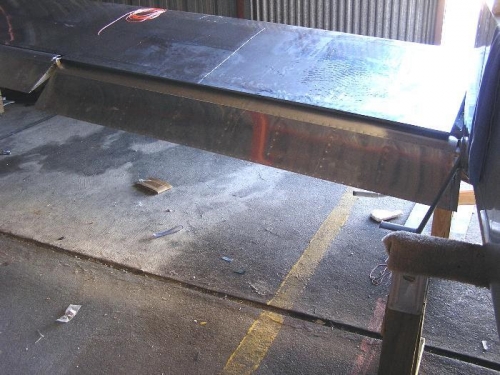
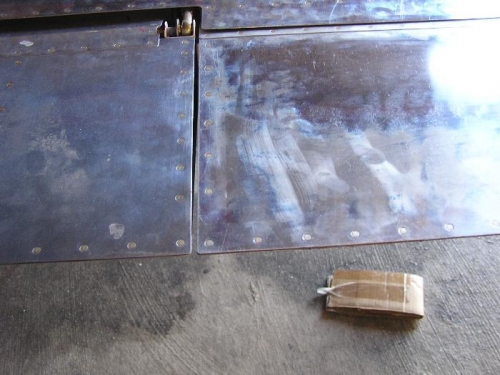
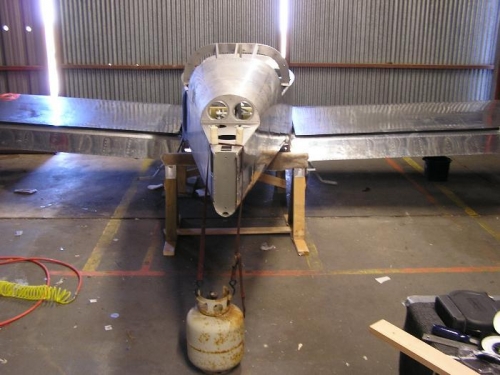
We had beautiful weather today so we worked longer than usual! I mounted the left fuel attach bracket that Claude had primed last night and drilled it in assembly with the fuel tank attach stub. However we have to remove it again to put on nut plates when the wing is taken off again. We then drilled and enlarged the hole in the side and bottom of the left side of the fuselage to allow free movement of the flap push rod. It was easier today since we had done the left yesterday. When we had the flap aligned just right with the aileron (see Image #2) we locked the rod end bearings in place and found that we had exactly the amount of travel specified (see image #1). As can be seen in Image #3 the travel of both flaps is equal. After much discussion and scratching our heads, Claude fabricated a piece of angle aluminum to use as a mount for the AOA flap switch. It seems to be exactly what we will need to allow the AOA computer to know when the flaps are lowered so it can change the calculated stall speed and angle of attack. There were no instructions for this but I think that it will work well. Tomorrow I will take a picture of the completed bracket and switch. While Claude was doing the fabricating, I put cotter keys in the mounting nuts on the flaps and tried to untangle all our wires in the root of the wing so that we can cut them to length. Tomorrow, after mounting the AOA switch, we start working on fabricating fuel lines. THAT looks complicated!