Brief Description: Bent, fabricated & attached fuel tank attach angle
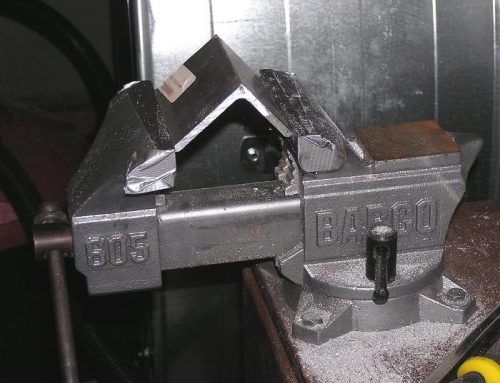
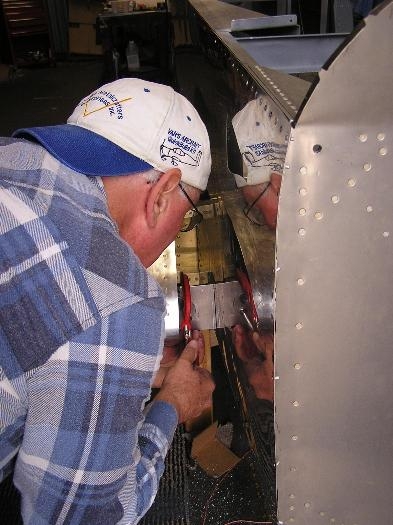
Yesterday, I was not sure how I was going to bend the THICK 2x2.5 angle approximately 3 degrees so that it would rest squarely on the fuse which was not parallel with the fuel tank angle. I posted a note on the Vans Air Force Forum but got some wild suggestions....like running over it with an automobile or beating it with a sledge. None of which appealed to me so I thought maybe we could bend it in the vise. This morning I set it up as you see in Image #1 and squeezed away checking the fit frequently. Then Claude clamped it in place (Image #2) and as you can see in Image #3 the angle mates to the side of the fuse and to the tank angle perfectly. Claude then fabricated the radius on the angle using a hacksaw and we drilled it. While he was cutting the angle, I dimpled some of the screw holes that hold the angles in place. Because of close quarters, I had to use a right angle drill without the drill stop to do the dimpling and was relieved when they came out OK. Just before we left for the day, Claude primed both angles so tomorrow we will be able to finish them up. After the wings are removed, we will have to put a 1/4"nut plate on each of the fuel tank brackets, another reason that we have to remove the wings one more time. I now have a check list of items that we must do while the wings are off and it is running almost a page.
Bending the attach angle in vise
Claude clamping fuel tank attach angle
Rt. angle fabricated, drilled and mated perfectly to the fuse