Brief Description: Final wiring of pitot/Installed AOA Rt. Wing
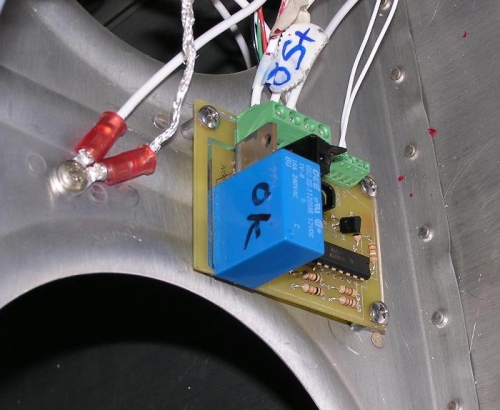
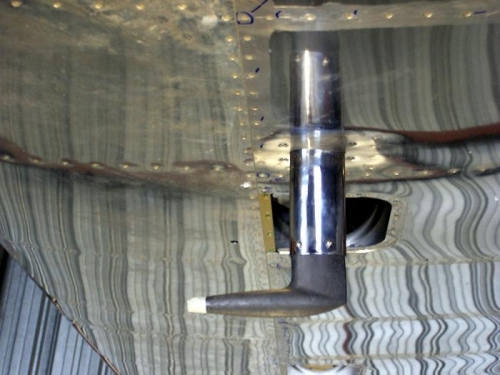
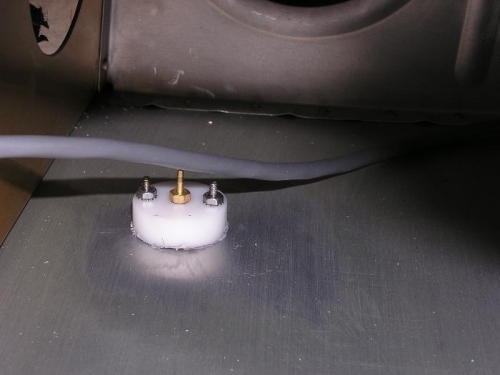
Today we finished wiring the pitot circuit board. It was quite hard to get the little wires into the sockets since as you can see in Image #1 they are not visible through the access hole. We did finally get them in the correct position and hooked up the wires at the wing root to our little lawn tractor battery and again watched the board go through a self-test successfully. Then we installed the plastic tubing to the copper tubing in the base of the pitot. We decided to use compression fittings on both ends. Image #2 shows the pitot in place. Claude then suggested that I apply suction with my mouth on the pitot tubing at the wing base and place my tongue over the hole to see if we had a leak. I proved that there was NO leak but it is HARD on the tongue! ..... We then installed the ports for the AOA. They go in the outer bay with a port on the top and bottom surface with EXACT placement specified. We drilled for the anchor bolts and dimpled them. Next we drilled a 40,000ths hole for the ports and stuck the ports on with Permalube. We couldn't take a picture of the LITTLE hole for it is too small to be seen. In Image #3 you can see the bottom port in place. The central brass "snout" is where the small vinyl tubing will go. Tomorrow we will place the tubing on these fittings and pull the tubing through the conduit.