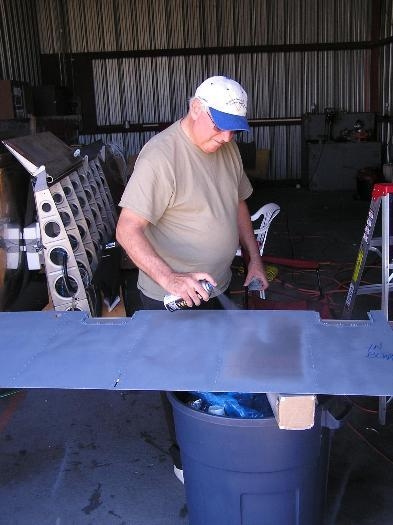
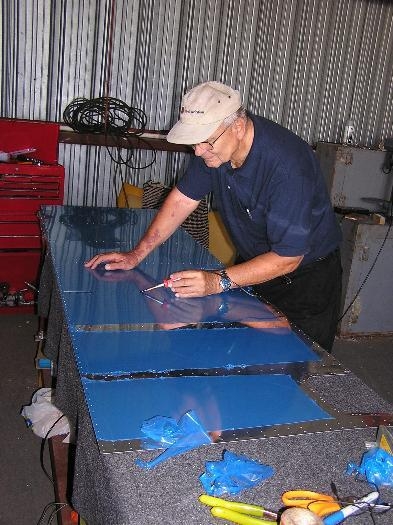
Brief Description: Wiring of pitot controller/Primed left bottom wing
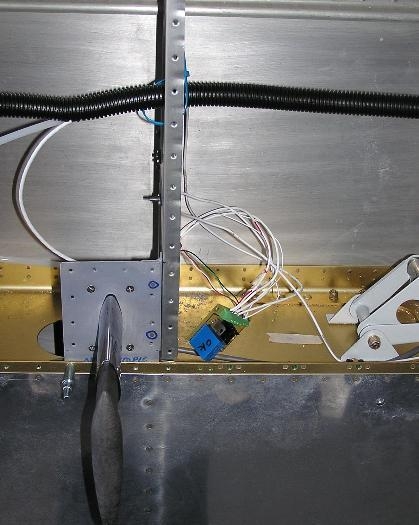
We temporarily wired the controller for the Gretz heated pitot. In Image #3 you can see all the wires. What you can't see is the tiny screws that hold them in place. There is no way to lock them in place and I see no way that they will continue to hold these little wires when in the vibration of flight. We did hook up the wires at wing root to a lawn battery and the unit went through a self-test without any problem. I hope that it will continue to do that at 200 hours! We also hooked up the wiring for the landing light and it also WORKED. We finished installing the nut plates on the left bottom wing skin, scuffed it, cleaned it and primed it...... Tomorrow we will remove the pitot (after working for 3-4 days to install it!)....and reinstall the bottom outboard skin of the left wing which will in effect close up the wing. There are a zillion rivets to drive, some of which will certainly be hard to reach! ...... We also began working on the installation of the AOA (angle of attach) monitor in the RIGHT wing. We will also have to install a magnetometer in the right wing (another SIX 22 guage wires). This is getting more complicated by the minute! I had Keith check the safety wiring of the roll servo and he was "almost" pleased with it but not quite. He cut it off and installed another. It was beautiful! I still think that mine would have passed inspection :<) but I feel better with an expert's installation!