Brief Description: Installed Lt. bottom inboard wing skin/Worked on p
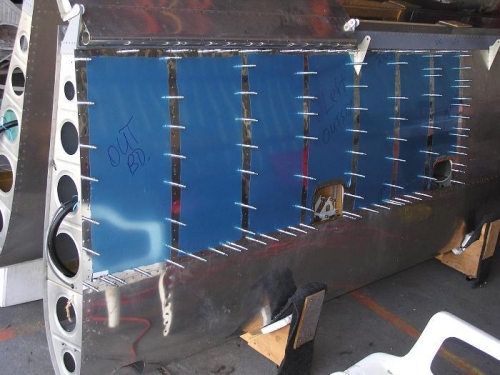
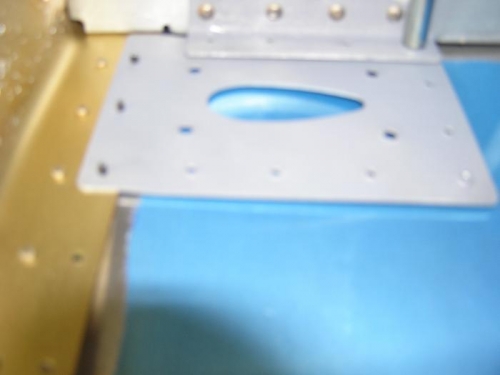
Claude was back but still feeling poorly! I had started on the pitot tube yesterday and today we continued. We drilled the backing plate and angle bracket, & coutersunk, and dimpled them and then primed them. In order to match drill the same holes in the skin and mark the skin for the oblong opening seen in Image #2 we had to install the left outboard bottom skin. This is seen in Image #1. We had some difficulty lining up all the holes particularly with the ribs but finally did and then reamed all the holes for #3 rivets. I then took most of the clecoes out so I could lay the skin back, rivet the angle in place and put the pitot backing plate back in place and cleco it to the skin and spar. This is as seen in Image #2. The skin still covered with blue plastic is the newly installed skin. Next week, we will to match drill the holes into the skin from the inside and mark the large hole needed for the pitot exit. They are seen in this image . Then we can remove the skin, cut the oblong hole & deburr, and dimple ALL these the holes so that it can be riveted later.