Brief Description: Cabin floors completely installed-Began on seat ba
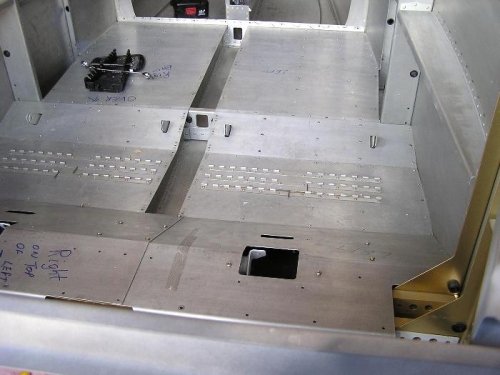
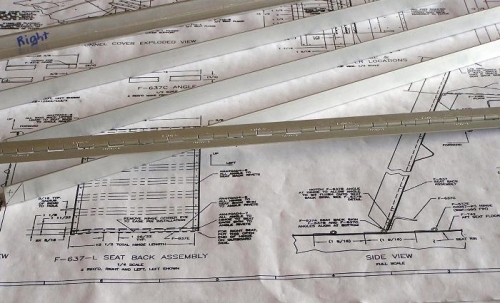
Today we finished reaming and riveting the forward and aft seat floors. We had trouble getting the forward seat floors to line up because when I was working in the fuselage earlier, my feet and knees had deformed some of the ribs. We finally did get all lined up, reamed and riveted. In Image 1 one can see that all the floors are now in place. We have covers for the center tunnel but leave them off because we will be installing the flap mechanism and elevator push rod and some wiring here soon. The "black hole" seen in Image 1 is the hole through which the left "stick" p[asses to join the controls. The irregularities seen in the middle piece of skin are actually piano hinges. This is what the seat backs will be anchored to. There are 3 rows thus allowing us to adjust the seat backs forward and aft. No seat track to break like have plagued the Cessna folks.......After finishing the floors, we began on the seat backs. There is much fabrication of parts required. In Image 2 one can see a portion of piano hinge and some angle aluminum sitting on top of the plans which show us the many steps that we must perform. We are just starting on the seats and will take the weekend off and start back on Monday. Both Claude and I commented on how tired we were after 5 days of work and how we were glad to have the weekend to recover. The problem is though I am not at the hangar, I can't stop thinking about what we have done, what we may have missed, and what we are going to do next. Claude and I both spend a great deal of time looking on other web sites for ideas.