Brief Description: Baggage floors & side panels being permanently ins
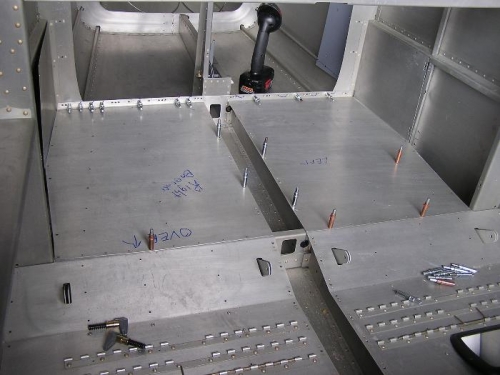
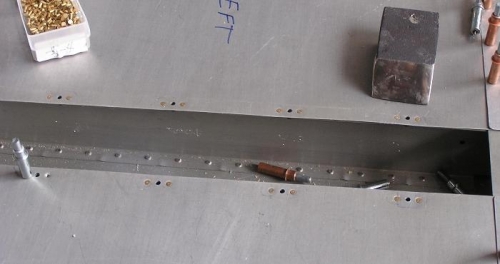
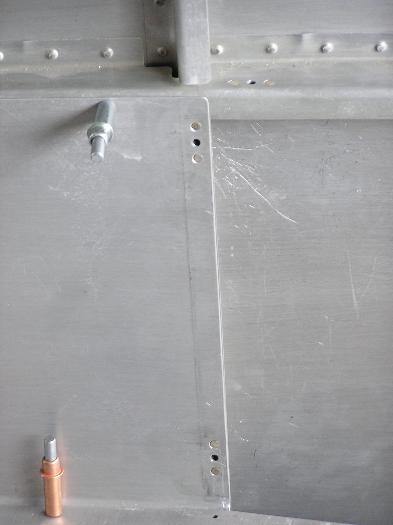
Today we moved forward into next bay and decided to install the baggage floors and side plates permanently. Some have suggested waiting but the plans say to do it now. Claude and I tried to figure what would need to go under the floors later and couldn't since we are putting the ELT and strobe power supply back in the bay behind the baggage bay. There were MANY nut plates to dimple and rivet in place. We have done about half of them. You can see some of them in Image 2. We were able to squeeze them. However when we got to the aft side plate plate nuts there was not enough room for the squeezer and barely enough room for a very small bucking bar. There was only an inch and a half clearance behind the flange to get a bar in. In Image 3, however despite the cramped quarters, you can see that the rivets were driven OK and are flush. We are getting better with our rivet driving but still don't like it when we are only able to get a corner of a bucking bar in place. Most of the work today required two people as do almost every day. I would not be able to function without Claude. He is so enthusiastic and is sofaithful and ready to work like a Trojan.