Brief Description: Avionics - ADAHRS and EIS Installation Trial
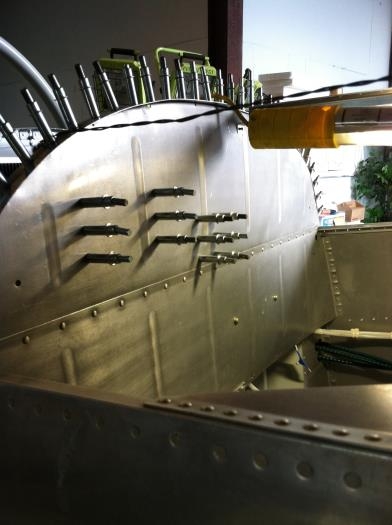
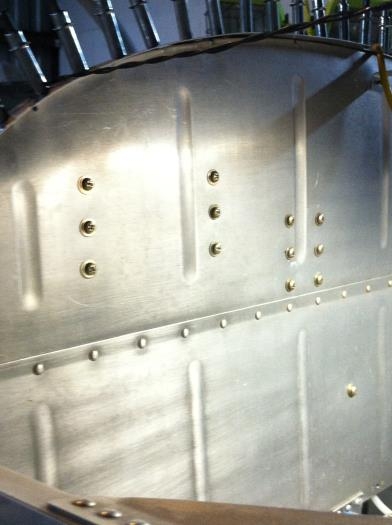
Located the holes for the ADAHRS and EIS installation on the baggage compartment skin and trial fitted.
• Used various methods and some magic to locate the holes on the forward side of the aft baggage compartment skin for the ADAHRS and EIW mounting brackets. • For each assembled unit with the mounting brackets, located the position for each on the aft side of the baggage compartment skin. • Drilled the first #40 pilot hole for each unit from the forward side of the baggage compartment, ensure the hole matched the needed location for the bracket on the aft side. • Used a rivet spacer set for 1" to locate two more holes per bracket, carefully measuring to ensure the holes align to the brackets on the aft side. • Dilled #40 the remaining pilot holes using the rivet spacer as a guide. • Final drilled #19 the holes. • Disassembled, cleaned deburred for the AN8R8 screws.
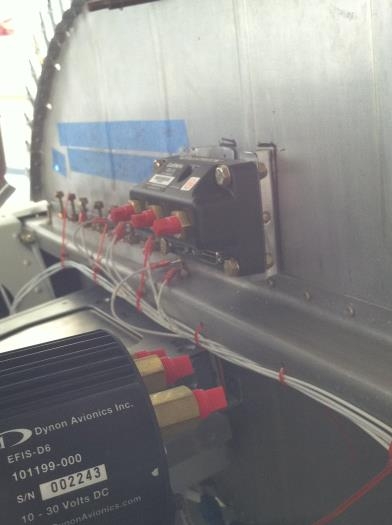
Originally I planned to rivet the brackets in place using AN470 rivets, but I later decided I might want/need to remove the brackets, so, I decided to mount using screws with nut plates on the brackets.
This means the ADAHRS and EIS will mount using AN3 bolts to the brackets via nut plates for easy removal once the top skip is in place, and the brackets will mount to the aft side of the baggage skin using AN8R8 screws to nut plates. I chose screws instead of AN3 bolts because it's less likely to tear up stuff in the baggage compartment, and I already used the same to mount the transponder tray bracket.
ADAHRS Installation
Brackets for ADAHRS and EIS clecoed in place - baggage compartment side