
|

|
|
|
My RV-8 Build Log
|
Date: 9-4-2014
|
Number of Hours: 2.50
|
Manual Reference:
|
Brief Description: Avionics - Comm 2 Install
|
|
Continued with building the brackets to support the Comm 2 radio, which is a GTR 20 Remote radio, behind the panel, interfaced to the GDU 460 EFIS.
• Located the brackets on the bottom of the transponder support tray.
• Drilled and countersunk holes for attaching the radio support brackets.
• Attached radio to support brackets, support brackets to transponder tray to test fit, and make determination about how all these components will be connected (rivet, screw, nut, or nut plate.)
It’s one thing to build a custom bracket, another to make sure it can be assembled and dis assembled when needed.
I decided that the U-Shape brackets need to have nut plates, so the radio can be installed from the bottom, otherwise really impossible to install using nuts.
• Drilled out the CS4-4 rivets holding the U-Shape brackets together.
• Drilled and countersunk holes for the nut plates for the screws for the radio.
• Riveted the nut plates to the radio brackets
• Riveted the L-Angle with the nut plates together re-creating the U-Shape brackets
• I will also attach nut plates to the bottom of the transponder support tray to the tray can be screwed into the support tray from the top.
This means I can install the radio from the bottom easily, install the transponder tray from the top easily, and finally, install the transponder into the tray.
|
|
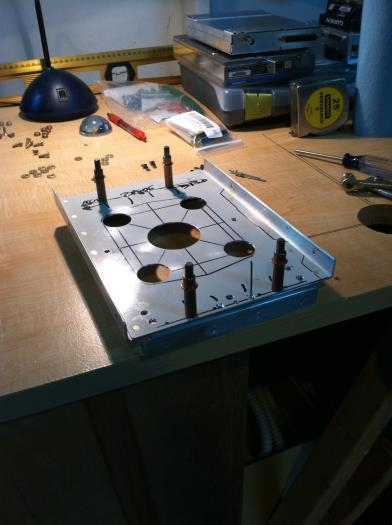
Radio Brackets Test Fitted
|
|
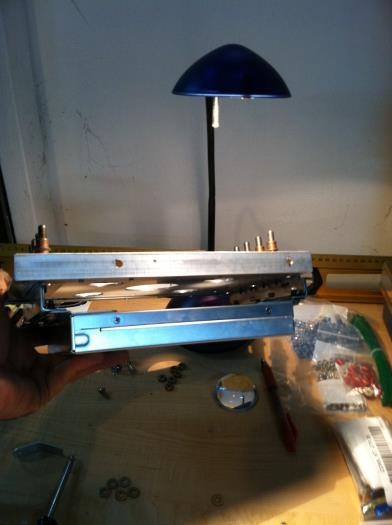
Radio and Brackets Test Fitted
|
|
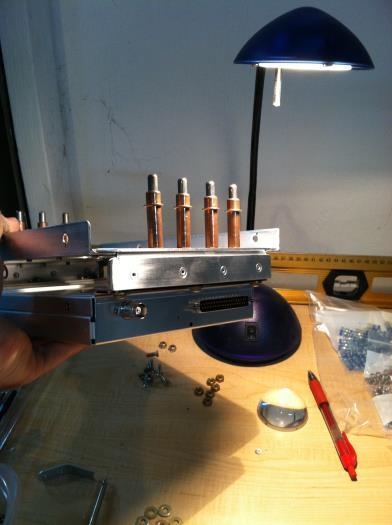
Radio, Brackets and Transponder Tray
|
|
|
|
|
|
|
|
|
Copyright © 2001-2024 Matronics. All Rights Reserved.
|