OK, let me back track a little. First in order to get my vintage Accuracy Avionics to fit my pink canopy, I had to cut it in half at the joggle in the canopy that is the tranisistion of the door area to the rear passenger area. Now in 2 pieces the OHC fit pretty well to the canopy albeit with a 1" gap between the peices. What I did the was cover the canopy with duct tape where the gap was, clecoed/clamped the OHC pieces in placed and simpled "glassed" the peices back togther with peices of 9oz cloth. Once it has cured, I removed the now "whole" OHC and cleaned up the "patches" with micro.
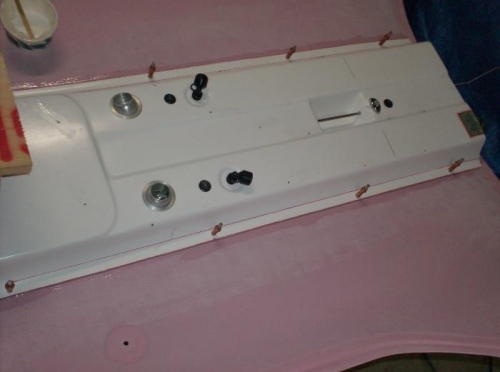
I then install the lights, their switches, and the vents. I then wired all the lights and completed a function check.
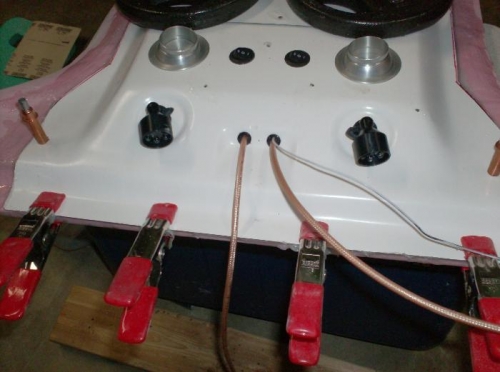
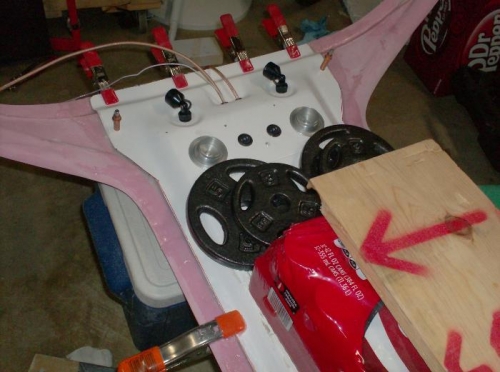
The final step was to install the OHC. I did this by laying in a bed of flox on the canopy onto which I placed the OHC. I then used a combination of clecos, clamps, and weights to hold the OHC in-place until the flox cured.