
|

|
|
|
Home of the Spodplane
|
Date: 9-4-2020
|
Number of Hours: 7.20
|
Manual Reference: 21-10
|
Brief Description: Strake fairing blocks
|
|
Over the last few days... Trimmed all previous work, all OK.
Finished trimming and re-drilling gascolator mount, and refitted cutting template outside with cleco. Remaining task to re-drill the indicator pin hole.
Continued spasmodically shaping the starboard strake fairing block, and when it looked reasonable attached more foam, including 3/4" of wing foam against the false rib, which will be easily removed to form the end rib. This isn't mentioned in the plans, which seems to imply you skin the fairing blocks with the wings attached, which means the wings would have to be cut off, and beneath the foam will be exposed. Archival wisdom says do an end rib, and that makes sense to me.
Played with clamps and a vice for the router table, but the fear factor, (sensible fear), means I can't do the bottom properly or safely. Eventually realise that this will all be done much more safely with the dremel router! Construct a miniature router table for the dremel, and cut the router guide on the dremel so it is square and symetrical. Unfortunately, I also manage to remove the 'hold-still' button with my table saw, so swap machines with the one on the flexi shaft.
Wielding the dremel router table with much more confidence, complete shaping the foam.
Assembled the finished bracket onto the mirror mount, and the light onto the bracket. Spend some time pondering the location for the assembly, decide on one and mark, thencut up foam to suit. Rather than rib-shaped bits, decide to stack small blocks vertically to make the port outboard fairing block. Do this in sections, starting with H45 from the spar to the back wall of the light compartment and 3/4" of wing foam against the false rib, to be removed to form the end rib. A wing foam block to be removed to form the light compartment, and make carving the external window frame easier. And a H45 block inboard of the light compartment.
Assemble each set of 2" and 1" H45 blocks with urethane glue. Assemble the light compartment wing foam blocks with hot glue.
Use
|
|
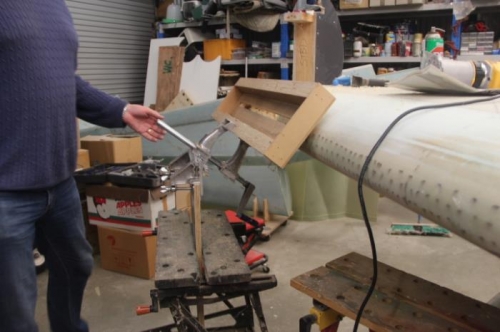
Slightly safer with a clamp. Still scary
|
|
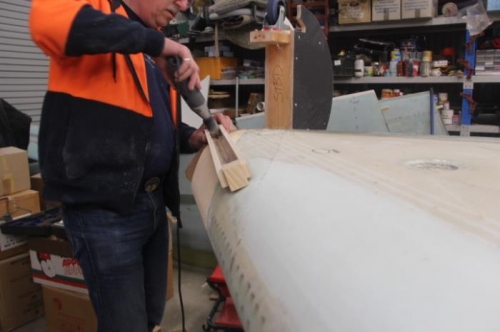
Dremel router much less scary
|
|
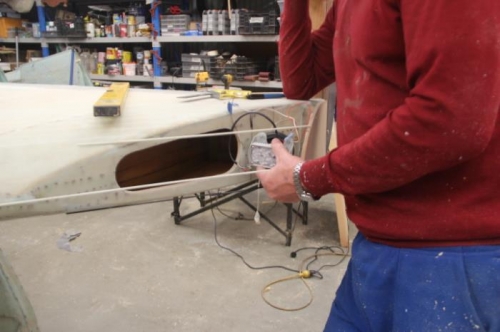
It goes here!
|
|
|
|
|
|
|
|
|
Copyright © 2001-2025 Matronics. All Rights Reserved.
|