Once the tank sealant had gone off a bit I gave the tank an initial, half-pressure, test. To do this I made up a simple pressure manometer as shown in the pictures below. It's just a piece of board with a u-shaped loop of clear plastic tube fixed to it. One end of the tube is open to atmosphere, while the other end is connected to the fuel tank via the pick-up tube.
I blocked off the fuel vent tube, and fitted a shrader valve (as found on bicycle tyres) to the fuel drain port.
On my home made monometer I marked off one-inch increments from the bottom of the plastic tube, up to about 38 inches. I then filled the tube with coloured water so that both sides of the u-shape had 27 inches.
I then used a basic bicycle pump to pump up the pressure in the fuel tank so that I had a differential of 14 inches on the manometer. This represents about 0.5psi.
If there's any leaks (and assuming temperature is constant) then the differential pressure will fall back toward zero.
I learned how to do this from other bulder's logs. Thank you guys for documenting.
After one hour the pressure has held steady, so all good for now.
Once the sealant has cured properly then I'll increase the pressure to 28 inches differential (1 psi).
My home made manometer
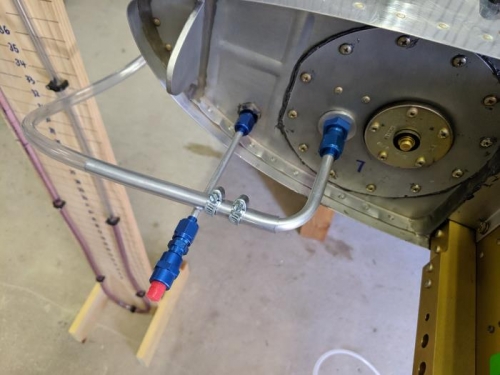
Manometer tube is connected to the fuel pick-up outlet. I also blocked off the fuel vent port.
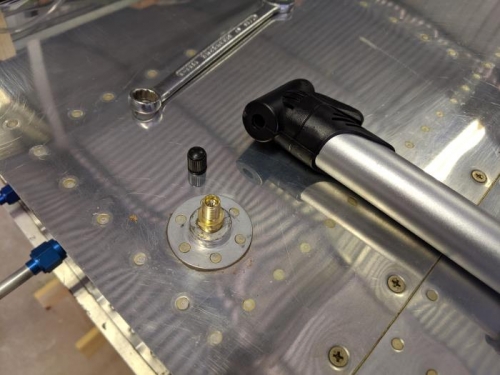
A shrader valve fitted to the fuel drain port allowed me to pressurise the tank with a bike pump