Right, time I finished off the fuel tanks I think .... so today started with the left.
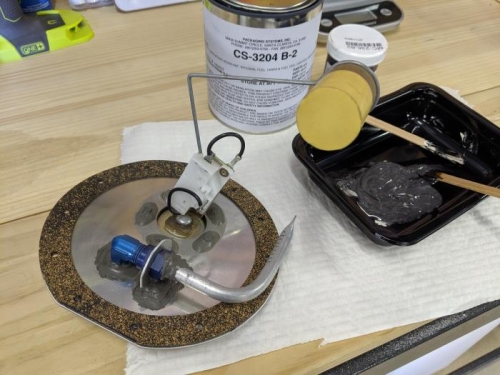
The instructions say to simply fix the fuel tank cover plate (which holds the sender unit and fuel pick-up) in place with tank sealant. They also suggest that "some builders" opt to add the cork gasket as a sacrificial means to get the cover off if need be later. I'm fitting the cork gasket!
I mixed up some lovely tank sealant goop and applied to the inside edge of the cover plate. I then layed the cork gasket in place and applied another line of tank sealant. Then I fitted it to the fuel tank and screwed in place ...... did I make that sound easy? .... nothing is easy when you're working with this sticky goo, although today I did manage to only get it on about 20% of my skin surface .... so a good day :-).
The cover plate assembly was a little tricky to get positioned, so before I tightened all the screws down I put my multimeter across the fuel level sender unit just to check that it was working. 30-ohms (wing is upside down, so float will have flopped to the tank-full position), so all good.
I mixed up some tank sealant and put both sides of the cork gasket
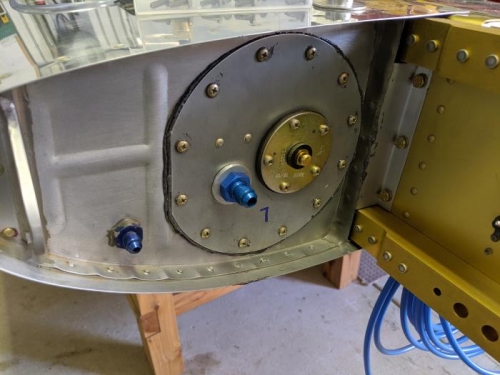
Fuel tank cover is bonded to the cork gasket, which is bonded to the fuel tank