
|

|
|
|
Terrences Web Site
|
Date: 12-30-2007
|
Number of Hours: 4.00
|
Manual Reference: 6T1 9
|
Brief Description: Drill R flap to #30, correct twist
|
|
1. Drilled the front of the R flap to 1/8", including the hinge.
2. When posiitioning the flap to drill the bottom of the flap, I noticed that OB trailling edge was up off the rail. Twist!!
3. I removed all the clecoes on top the top and bottom. Then I strapped the flap to the table/rails. as I had done for the forward skin of the stab. See Fig 1
4. Drilled #30 & clecoed the ribs to the front skin in pattern 4, 5, 3, 2, 1, & 6. See Fig. 1
5. Turned the flap around and drilled 1/8" and clecoed the bottom skin to ribs.
6. Turned the flap over and drilled 1/8" and clecoed the top skin to the ribs.
7. Turned the flap around, and worked out a way to strap it down while allowing access to the bottom-front of the flap for the hinge. See Fig. 3
8. The the front skin and the 25-mm flange were shifted enough that I could not insert a cleco into 1/8" holes. I need to clecoe to hold the hinge in place. So, I drilled #30 and clecoed all the holes between the front skin and the 25-mm flange. Then I clecoed the hinge in place every foot or so. Then drilled #30 & clecoed the hinge.
9. I believe that the twist originated because the bending of the skin was not quite perfect. This was shown by the 25-mm flange which was several mm further inside the skin at one end than at the other end. With hindsight, it is probably a good idea to strap down all these items to make them as flat as possible.
10. I need to devise a way to use a laser level to determine the straightness of the rails. There is a definite difference between the sides, and I should determine which side give me the most perfect platform.
|
|
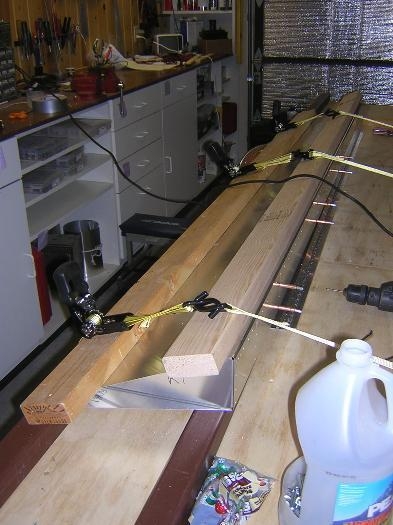
R flap strapped down
|
|
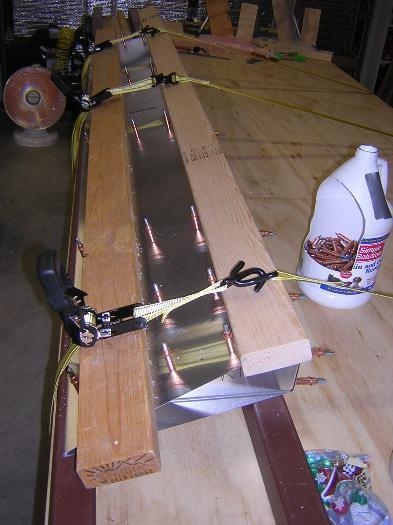
After drilling bottom #30 to ribs
|
|
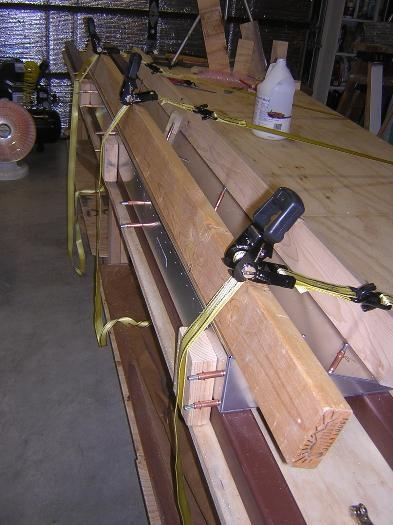
Setup to redrill hinge #30
|
|
|
|
|
|
|
|
|
Copyright © 2001-2024 Matronics. All Rights Reserved.
|