
|

|
|
|
Terrences Web Site
|
Date: 1-14-2011
|
Number of Hours: 6.00
|
Manual Reference: 6ZU4-6+
|
Brief Description: Drill inboard rib for left aileron counterbalance
|
|
4. (cont.) Accordingly, after making sure sure that the bend angle on the front flange of the ribs were adjusted to match the rib angle with the front of the aileron, I used an adjustable square to align the rib front angles to the same angle, as shown in Fig. 1. Then I clamped the ribs in place, being careful to keep the ribs perpendicular to the table top. Finally I drilled the holes through both sides of the arm and the outboard rib on the drill press, clecoing as I went along, as shown in Fig. 2. Then I enlarged the holes to 1/8" clecoing both ribs as I went along. Finally, I enlarged the holes to 3/16" inserting AN3 bolts as I went along.
5. After checking angle, alignment, etc., I unbolted the ribs from the arm, inserted the inboard rib into the aileron, then inserted the AN3 bolts through holes. Next, using one of the steel weights as a pattern, I drilled the other end of the arm for weight attach bolts. I inserted the arm through the hole in the front of the aileron, and passed the bolts through the arm. Then I inserted the outboard rib into the aileron onto the bolts, and tightened the nuts.
6. Finally, I clecoed the aileron back together, including the inboard balance arm aileron maintaining the wash out angle with a 13-mm block. Then I drilled the outboard aileron, top, front, and bottom, 3/32, 1/8, and #30, clecoing as I went along. It all looks nice and tight, as shown in Fig. 3.
|
|
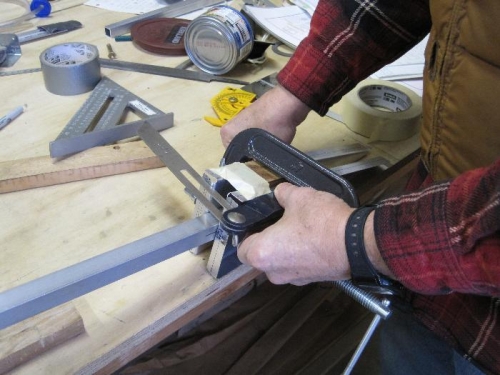
Rib alignment as done
|
|
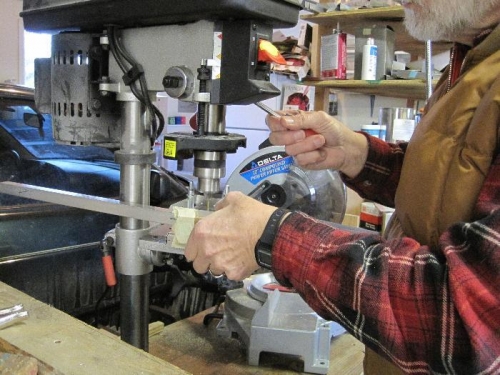
Drilling holes through balance arm
|
|
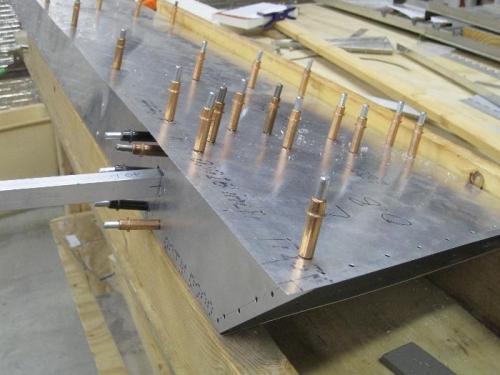
Balance arm bolted & clecoed in place
|
|
|
|
|
|
|
|
|
Copyright © 2001-2024 Matronics. All Rights Reserved.
|