I previously discovered the tailwheel socket had a bit a play and decided to add another bolt to keep everything lined up on the tail spring. Hand drilling through the titanium rod with a guide was work hardening the titanium. I took the assembly to my dad’s shop and used his drill press set at the lowest RPM. It worked great and broke through the work hardened metal with a fresh carbide bit. Back at the hanger I repainted the assembly.
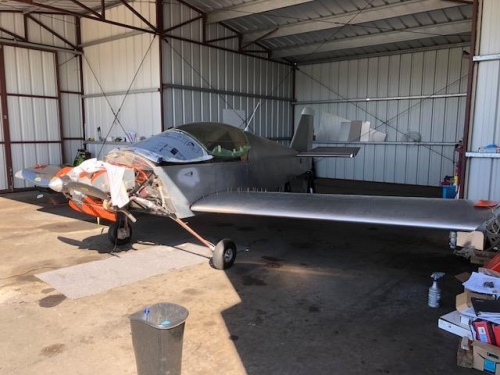
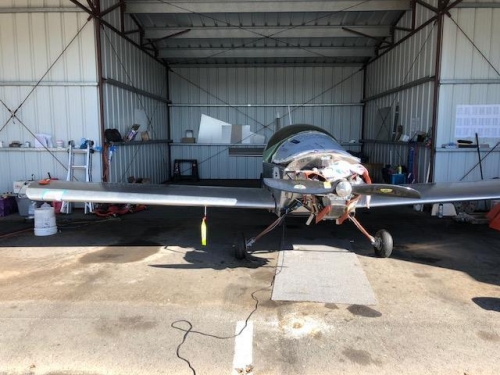
I installed the adjustable flap stops fabricated by Peter Anson. They seem to work as advertised. Then my dad came over to save the day again. We turned our attention to installing the wings. The right wing went in easy. The left wing took a little longer to align and install, but it was not a difficult process. Once the pins were in the main spar and the rear spar was bolted everything lined up nicely and was very secure. Connecting the flap push rods to the torque tube was hard. I ended up removing the control sticks to be able to lay down on the seat with my head under the panel. I had to use a long pair of 90 degree pliers to insert the bolt through the assembly from the backside through the rib lightening holes. I ended up using the handle of my mirror to lever the control rod up and line it up with the fork in the torque tube. Now I see why some builder make one large lightening hole out of the two in the first rib. Connecting the pitot, AOA, and wiring was pretty straight forward, but very cramped. Major milestone complete!