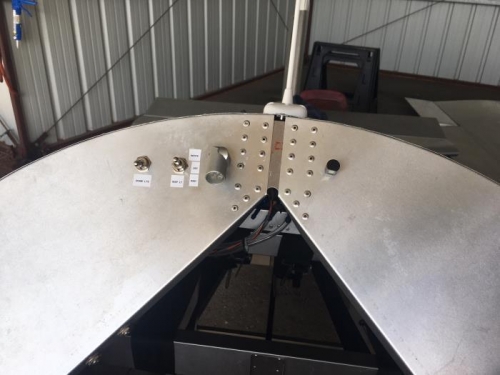
Brief Description: wiring, breakers, lighting, and GPS layout.
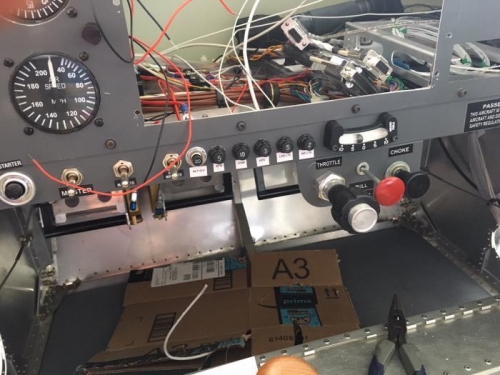
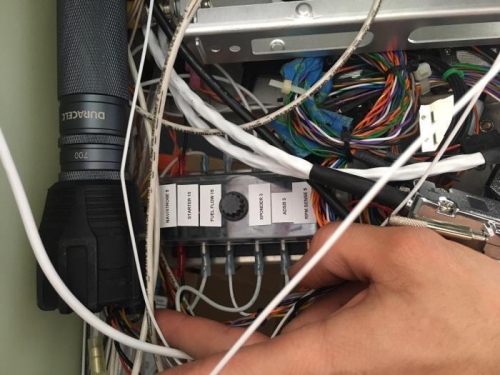
I installed and wired the dome light in the baggage area and a panel light shining on the seat area from the turtle deck support. These dome lights are operated off the dome light switch on the turtle deck support. There is also a map light and switch I installed in the same area. The map light can rotate and move up or down. The three position switch works for off, red, or white and the circuit is dimmed from the panel light rheostat. I installed the panel light rheostat on the right side of the panel and wired it to the post lights. The solid state rheostat also functions as an off switch. The post lights illuminate the backup gauges and toggle switches. I removed the EFIS to allow better access for wiring. I finished installing the breakers and labeling them as well as labeling the fuse block. I relocated the 30 amp alternator fuse as I did not feel the fuse block could be rated for that much load even though it would only be under such load in an overvoltage. This is now the alternator overvoltage circuit breaker and would be tripped in an overvoltage by the short created from the crowbar overvoltage system. This breaker directly supplies the DC bus. The other breakers will be fed from the DC bus and get a dedicated bus bar for simplicity and durability. The old alternator fuse position is now used for the position and strobe light circuit. I started to clean up wire routing behind the panel I laid out the Panel space for the GPS and drilled holes in the corners.