
|

|
|
|
Christopher's Web Site
|
Date: 2-2-2016
|
Number of Hours: 3.50
|
Manual Reference:
|
Brief Description: Collective Friction – Cyclic Installation
|
|
Let’s talk collective friction installation. I will get into more detail later about disassembling the aft bolts on the collective arm, installing the 90 degree bracket, installing the friction blocks, drilling out the aft kick panel, etc. What I will say right now is that after 3 hours of installation efforts, it came to my attention that the friction blocks were drilled and threaded incorrectly at the factory and need to be replaced. In a nut shell, the forward piece needed to be threaded, not the aft piece. I wasted a painful about of time, and I will likely need to replace the angle bracket as well since it was specific to the friction blocks. We will see. Thanks Megan for shipping the correct ones out ASAP! Another project on hold…
I did spend a little time polishing and cleaning up the friction knob since it will be sticking out and very visible to everyone in the cabin.
In the meantime, I installed the throttle linkage that runs out the back of the cabin and under the engine. I still need to buy the correct length bolts with drilled heads for safety wire, but it is all in place and works well.
|
|
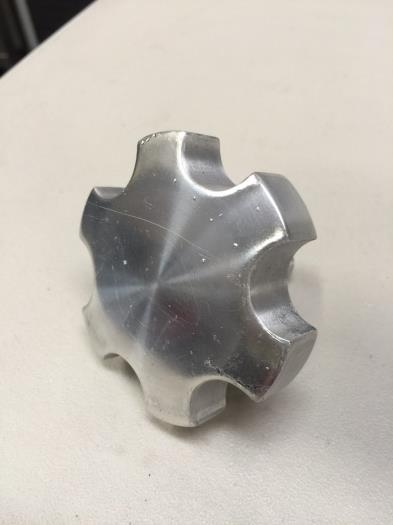
Before
|
|
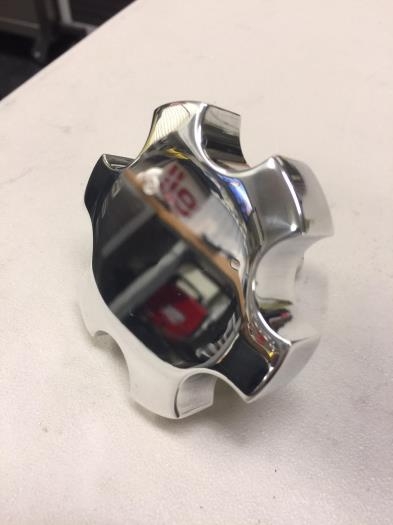
After
|
|
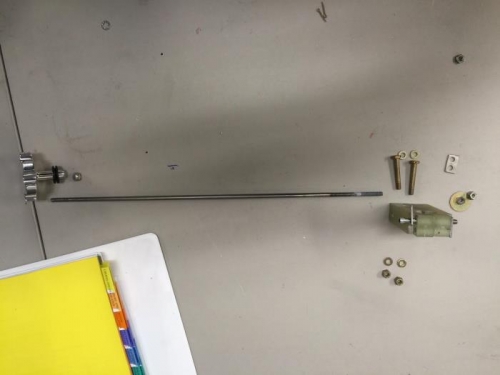
Control arm
|
|
|
|
|
|
|
|
|
Copyright © 2001-2024 Matronics. All Rights Reserved.
|