
|

|
|
|
Christopher's Web Site
|
Date: 2-18-2016
|
Number of Hours: 4.00
|
Manual Reference:
|
Brief Description: Control rods
|
|
As I mentioned before, all of the control rods need to be fabricated including the various rods for the throttle linkage, the collectives, cyclics, the governor, the tail rotor pedals, swash plate, etc. Some of the control rods needed to be cut from aluminum tubing, but three of them come pre-made out of 4130 steel for the main rotor.
Once I cut down the rods to length per plan, I gradually drilled out the ends of each rod with three different size drill bits until I finished with the bit required for the tap size. If I didn’t build up to the size, it was too easy for the hole to rotate off center inside the rod. I held the rod steady by clamping it in a nylon vice jaw adapter for round objects with the end of the rod hanging off the bench. Once the drilling and tapping was complete, I cleaned the rod of all it’s cutting oil and primed it with a self-etching primer.
For the control rods that were visible in the cabin and running back to the engine or main rotor, I used gloss black paint. With the control rods that are located within the cabin under and behind the seats, I used yellow so they would stand out as moving surfaces. For the two very prominent control rods that connect the tail rotor pedals, I sanded and polished to a mirror finish since you can see them through the bubble.
|
|
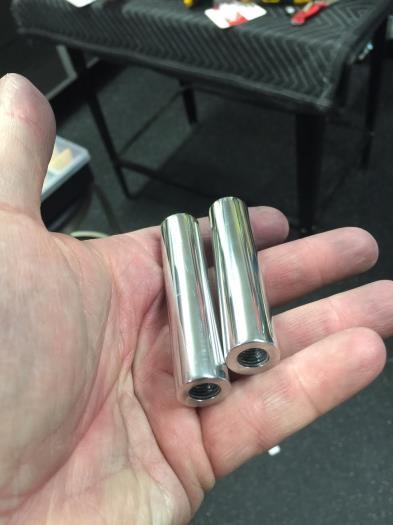
Polished
|
|
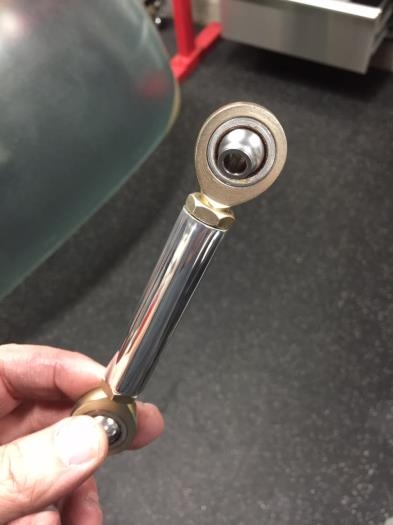
Hein Joint installed
|
|

Tail rotor pedals linkage
|
|
|
|
|
|
|
|
|
Copyright © 2001-2024 Matronics. All Rights Reserved.
|