
|

|
|
|
Christopher's Web Site
|
Date: 8-21-2015
|
Number of Hours: 6.00
|
Manual Reference:
|
Brief Description: Seat panel fabrication
|
|
The construction manual was very helpful for the basic bend locations of the seat panels. Thanks Safari! Obviously, there are fine tune cuts to make based on your particular panels, but it was a good start.
I used a pneumatic cutter to get through the think .063 metal. Hand shears just can't make a long cut as needed. The cutting went well, and I cleaned up and straightened the edge with a belt sander and hand file. After rounding corners and deburring edges, I used the brake to make the bends. Sadly, the first bend I made was too much and I passed 45 degrees. As you know, you can't go back without hurting the integrity of the bend. Oh well...that is why I ordered more metal for my stock.
The seat panels fit fairly well, and only needed some minor adjustments. Luckily, I took my time on the bends and kept checking the fit inside the helicopter because they are not simply two 45's to make a 90 degree bend. They are less on both bends and it is easy to go too far.
It was simple to accomodate for the width of the hinge. I rested the panels on the frame, then marked a line on them from the back where they were overlapping the aft panel, then marked a second line 5mm down from there to accomodate for the hinge barrel. Once the cut was made, is was perfectly customized for both the panel and the hinge.
The instructions for working with the raw hinge material were also good in the manual, so I got that cut and fitted without errors. I then layed out the hole pattern with a rivet fan and predrilled the holes on the hinge. I then used cleco clamps to holed the hinge where I wanted it on the seat panel and again predrilled holes with a #40 drill before going back over them with a #30 bit. This ensured that I wouldn't damage and oversize the holes on the hinge while using them as a guide for the panel. It worked perfectly.
Then I preped and primed the pieces where they were going to be seated against each other using self etching primer. Once that dried, I begain the riveting process. I use
|
|
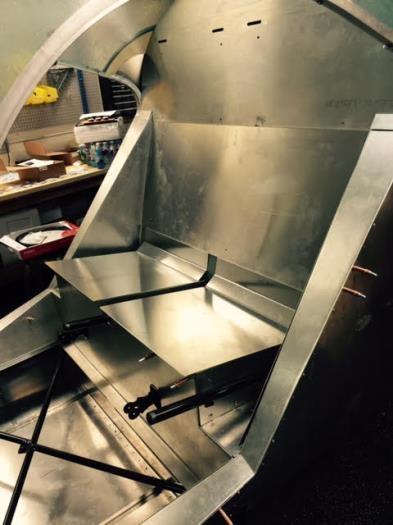
Seat panels resting in place
|
|
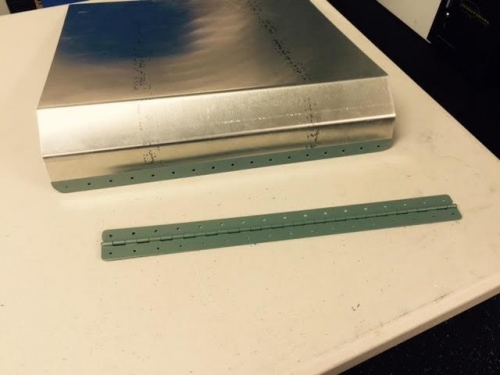
Hinge drilled, deburred, and primed
|
|
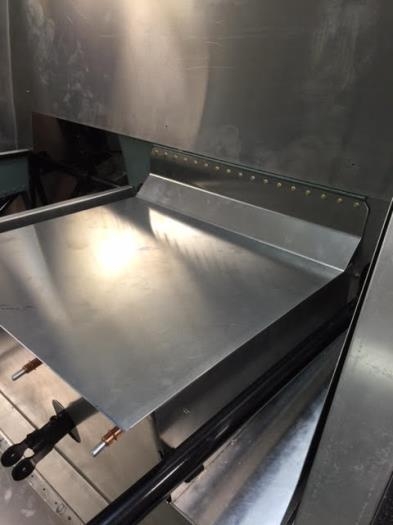
Lower hinge rivets complete
|
|
|
|
|
|
|
|
|
Copyright © 2001-2024 Matronics. All Rights Reserved.
|