I'm holding off on cutting the holes for the seatbelts on the headboard panel until I can confirm that the belts I have are appropriate for the final configuration and attachment points. As such, I'm moving on the the kick panel fabrication.
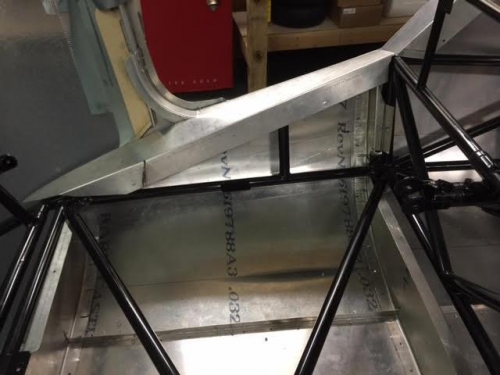
I can take the bubble off at this point, but I'm going to wait until I have some help so I don't risk damaging it in the process of removal. I have drilled out the temporary blind rivets on the floor panel and removed it so I can have the proper fit for the kick panels. The bottom and aft tabs mount under the floor and behind the cyclic panel.
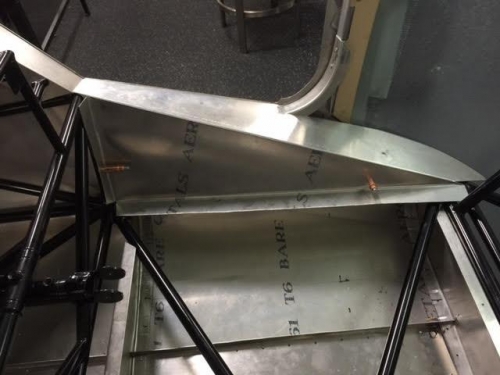
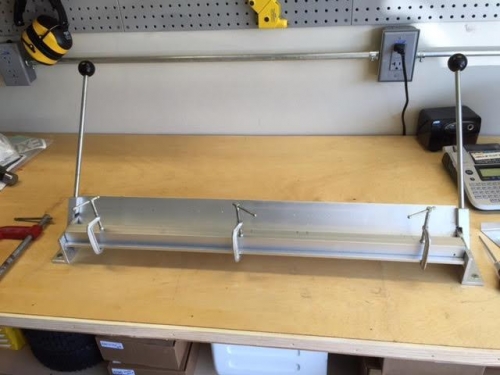
This is the first piece of metal that I need to use the sheet metal brake (shown in Photo #3). It is not the best tool on the market, but it worked okay if you take the time to set up the bend correctly and go slow. Not sure it will bend much thicker metal.
I am going to make it a practice not to finish the edges and penetrations until after the piece is correctly fit in place. As with the headboard panel, I made a cardboard cutout template for both sides. It's held in place in the nut plate bracket without the nut plate installed yet. I'm using a small washer with a 1/8" hole as a backing plate so the cleco will stay in place. Pretty cool to see progress.