Brief Description: Riveted Right Leading edge to the front Spar
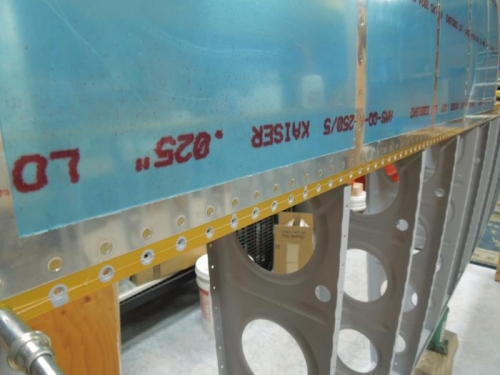
I leveled up the right wing in the jig with the bottle jack and fishing line. I then 100% clecoed the R LE assembly on to the front spar. No tank or wing skins are attached. I’m still waiting for the Cherry max blind rivets I ordered from Aircraft Spruce to attach the aft ends of the leading edge ribs to the front spar. It doesn’t look like I’ll get them for another week now. The plans call out solid rivets for these, but the access for a rivet gun and bucking bar looks near impossible to me. Most builders are going with blind rivets in this case from my research. Heck, I had trouble just getting the clecos in! The access is awkward with the wings facing up in the jig. It would be easier if they were facing down.
The plans call out riveting the ribs first, but I started on the skin rivets – I can’t see why it would matter. I got the squeezer out and riveted all the flush rivets on the aft edges to the front spar. I started in the middle and worked out on both side. No issues here. 3-4’s for just about all of them. 3-4.5’s were used for the Spar/web/skin build up.
The Left LE is ready to go as well, but I think I will try and install the stall warning mechanism before I rivet it on. The short rib is already riveted into the LE of course, so I think I will build up the mechanism on the RV9 short rib that is included in the kit. I should probably buy some wire and do that at the same time.