Brief Description: Right Tank end rib and plumbing/wiring
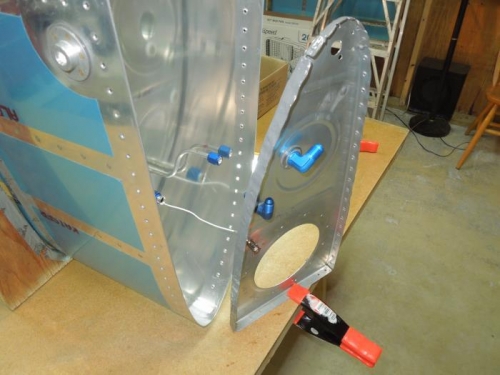
Good day in the shop today. My scheme for terminating all the wire ends prior to installation worked just fine on the left tank, so same process today. I installed the outboard capacitive plate and ran the wire back through the plastic bushings. I installed the fuel return line. I scuffed up and wiped the inboard rib flange down with MEK. I threaded the previously terminated end of the wire connected to the BNC connector on the inboard rib back through the plastic bushing on the second rib and then inserted the vent line. I wrapped the wires around the vent tube and then installed the hold down screw and bolt to hold the wire terminals. I mixed up some sealant and sealed this connection up and installed the inboard capacitive plate.
I then buttered up the inboard rib (clamped to the workbench), wrapped the wire around the vent line a couple times as I inserted the rib and then clecoed it up. Riveting with the squeezer was next around the periphery.
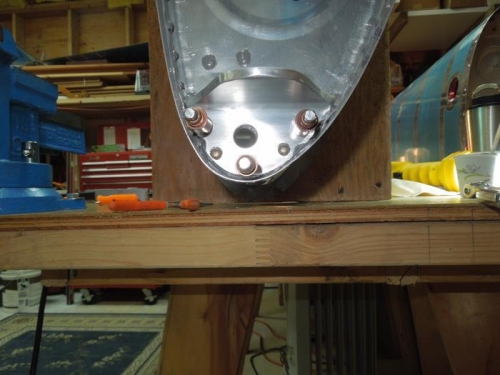
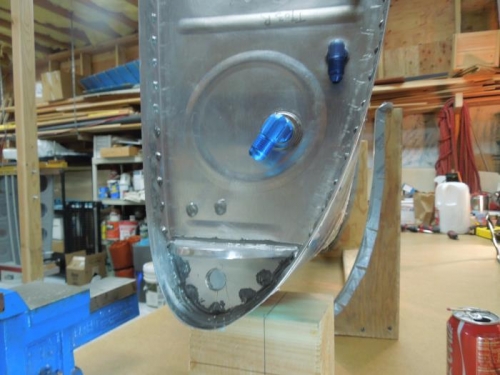
I then attached and torqued (55 in-lbs) the vent line and return line fittings.
The nose re-enforcment brackets were next. Same process as yesterday.
Finaly, I mixed up some more sealant and completed filet seals and a few dabs on the wiring.