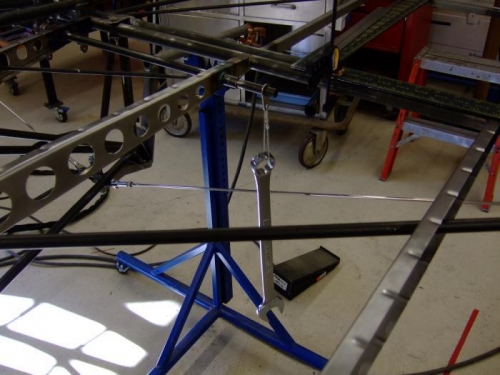
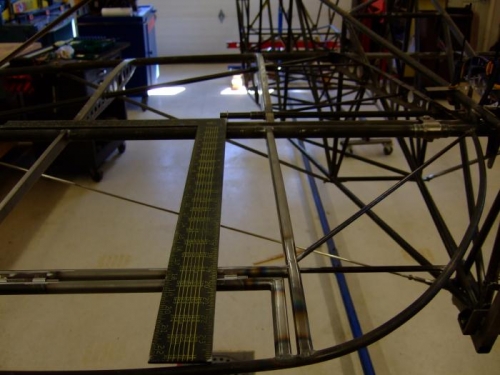
A lot done today, but as always not much to show because it is so tedious. I lined up the trim belcrank and made sure it was offset 3/4in left of centerline per the plans for elevator cable clearance. Once that was done, I slipped the stop rings on the ends and tacked them in place. I then took the small arms on the end of the tube and lined them up with the arms on the trim tabs. Once that was all done, I tacked it all in place. I used a wrench to hold the arms vertical and it worked out great. After all was checked, I cut the trim tabs free from the elevator and trimmed all the ends. Next is to finish weld all those tiny components. After that is done, the trim is done...finally!