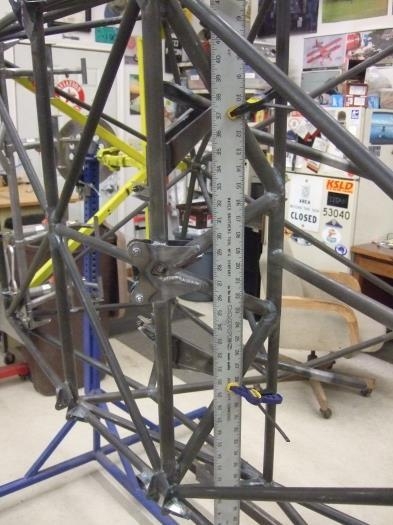
This is where all the fun began. When I did all my measurements for the belcrank location I came up a little short for clearance at the top where it comes close to the diagonal seat support tube. The plans say 3 inches from C tube centerline to the center of the mount. To clear I came up with 2 3/4in. I had welded the mount tubes according to the plans and it just wouldn’t work. The position of the mount tubes were just too wide to fit well to the vee when the belcrank top cleared the seat tube.
I thought I had messed up the basic structure between C/S, etc. I measured, noodled, and worried about the belcrank position. Called Bob and he said there is a small error in the plans there and just weld it lower and insure clearance at the top. I also went to a friend’s BH project. He has a QB fuselage and I brought my ruler and measured. All his measurements matched mine exactly! I was sweating for nothing…absolutely nothing. I just have to build and go fly the thing.
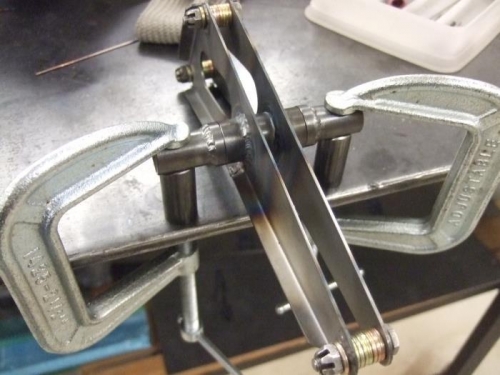
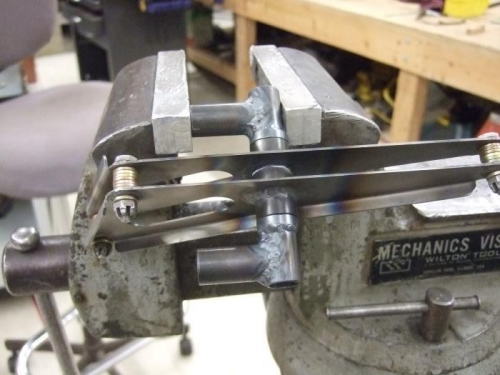
One thing I did see on my friend’s fuselage and the QB assembly manual mentions is to offset the belcrank a bit to the left so there isn’t any interference with the flap cable at the bottom. The QB fuselage has a different method of mounting the belcranks to the fuselage and makes this easy. All I did was make a new pivot tube and offset the mount tubes about an 1/8th to the left and made the spacing fit the correct place in the vee. It’s all welded up now and ready to fit to the fuselage. Onward!