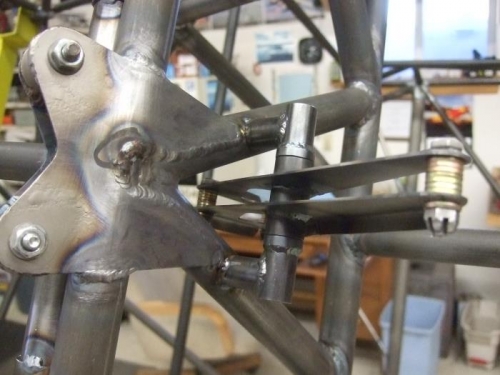
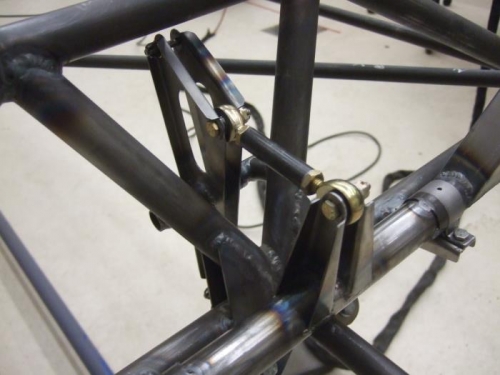
I tacked in the elevator belcrank and just double-checked the fit before I committed to welding. I checked the clearance up top and the vertical alignment of the belcrank. It is offset about an 1/8th of an inch to the left facing forward to give the flap cable a bit more room. The finish welding turned out great. Doing welding like this just makes me appreciate my rotisserie all that much more and I’m really glad I took the time to make a good one. I always weld in a good position and that helps make for a good, strong weld.
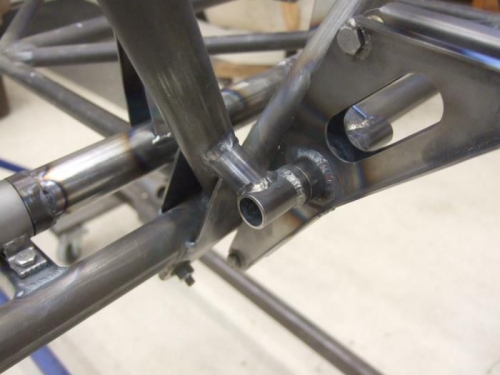
After the welding, I took a 2in long piece of 1/2in .120 wall 4130 tubing and tapped it out on both ends for the rod ends. I really don’t like welding the nuts on tubing for pushrods. In this case it was so short it just made sense to just tap a piece of steel tubing and have the threads engage the entire length of the rod. Now, the control stick assembly is done! Moving on…