A year and 1/2 ago I had installed the left wing flap brace and then discovered that I needed to counter-sink the flap hinge holes and dimple the wing holes, so I drilled out the rivets and put the flap brace aside.
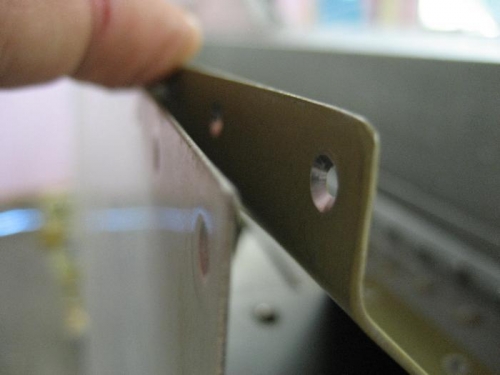
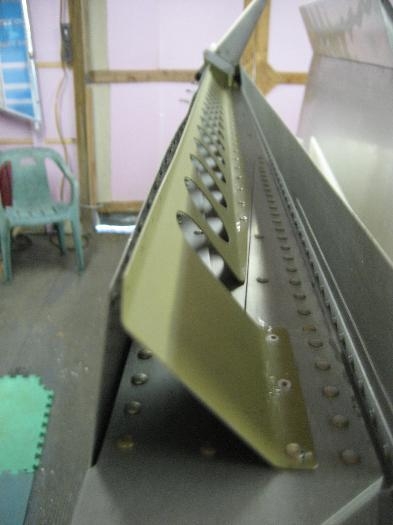
Fast forward to yesterday. I completely forgot that the flap braces needed the hinge holes to be counter-sunk and the wing skin holes dimpled and I went ahead and riveted both left and right wing flap braces on. I discovered this mistake today and, after pounding my head against the wall for a few minutes, I decided to try to counter-sink the flap brace and dimple the wing holes with the flap braces riveted in place on the wing. I wedged a block of wood between the flap brace and the wing skin until there was enough room for the pneumatic squeezer to dimple the holes in the wing skin. I then took the deburring tool and counter-sunk the holes in the flap brace until they were deep enough for the dimples of the wing skin to fit (picture 1). When you look at picture 2 you can see that the pressure from wedging the block between the skin and the brace caused the skin (the thinner material) to bend and appear wavy. This waviness is removed when the two pieces are bonded together with clecos and the edge is straight.
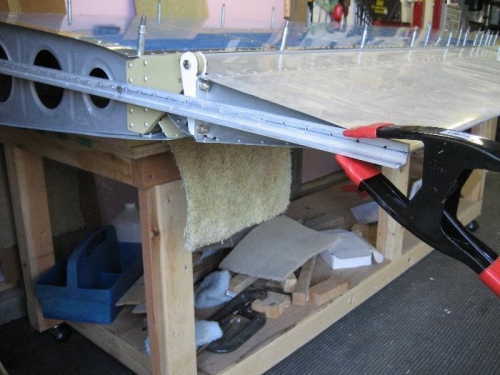
Next I took the wing out of the stand and placed it on the table to clamp the aileron in the neutral position in preparation for aligning and attaching the flap. I took a piece of aluminum angle and drilled two holes that aligned with the reference line holes in the rib. I then took a clamp and clamped the aileron to the angle so that the reference line was centered with the aileron trailing edge.
Wing skin holes dimpled and flab brace holes counter-sunk.
Note the waviness of the wing skin. It goes away when both pieces are held together.
Aileron trailing edge clamped to the neutral position.