Finished back-riveting the stiffeners to the LH elevator skin, riveting the nutplates to the electric trim reinforcement plate, and then riveted the reinforcement plate to the skin.
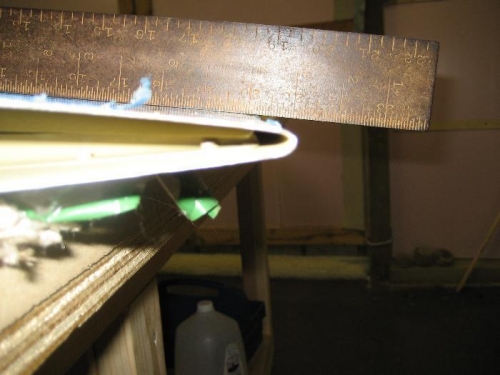
Next was bending the trailing edge of the left and right elevator skins. I borrowed a break (board attached to a table with hinges) from Allen Blackwell. Put the trailing edge between the table and the board and squished it until the stiffners touched. Repeated the same on the other elevator and was pretty pleased with the result.
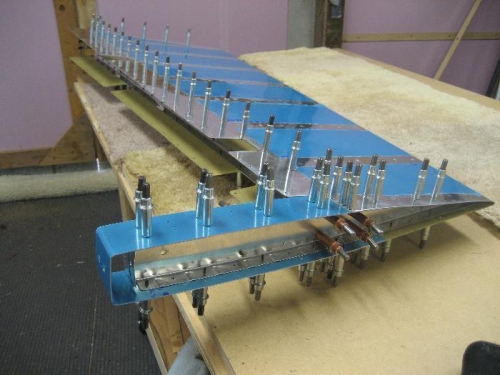
The next step was clecoing together the RH elevator understructure, match drilling the holes, clecoing the elevator skin to the understructure and matchdrilling the holes, moving the clecos and doing the remaining holes, flipping the elevator and repeating the process for the other side. I then took it all apart and began deburring all of the holes.
I also drilled the lead counterbalance weight, countersunk the attach holes and dimpled the corresponding counterweight skin holes.
Next I'll finish deburring and dimpling the skin, spar and rib holes.
Using the break to bend the elevator trailing edge
Finished result
Elevator skin cleco'd to the understructure for match drilling.