Started on the rudder today. Pulled out the 2 rudder skins and some aluminum angle stock to make the stiffeners that attach to the inside of the rudder skins to give them rigidity. I had trouble understanding the plans so I consulted several other builder's websites and found I wasn't alone. I got a pretty good understanding how to trim them but I called Van's and made sure.
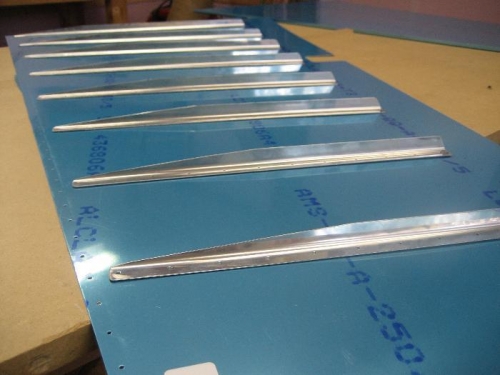
The rudder skins are very thin and the stiffners are 16 pieces of angled aluminum that are cut to various lengths and tapered on one end. I made the initial rough cuts with the band saw, removed the rest of the material with the belt sander, and finished them off on the scotchbrite wheel. It was slow going in the beginning but I became an expert by the time I finished number 16. So if you need someone to make you some stiffeners...
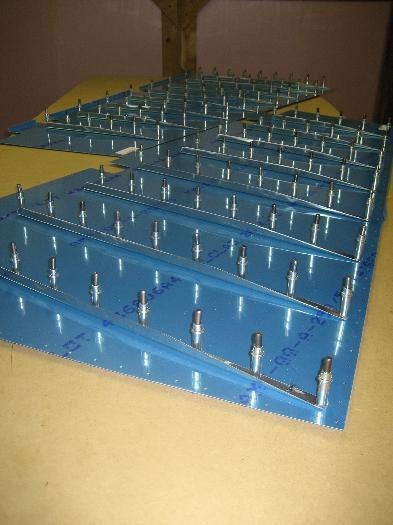
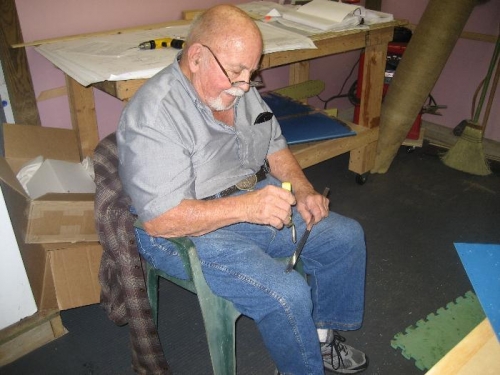
Next I clecoed the stiffeners to each skin (every other hole), match drilled the holes through the stiffeners/skins, then moved the clecos to the drilled holes and drilled the remaining holes. Pop came in and deburred the stiffener holes while I took a soldering iron and removed strips of the blue protective plastic and deburred the holes in the rudders skin (both sides). Then I used the C-Frame dimpler to dimple the holes in the rudder skins. Tomorrow I'll dimple the stiffner holes to match the holes in the rudder skins and hopefully prime all of the pieces.
Some of the stiffeners on the rudder skin. Note the taper on the left side of the stiffners.
Stiffeners clecoed to the rudder skins
Pop with a stiffener (Way to go Pop!) helping debur the holes.