Started today by putting the skin on the understructure with clecos in every other hole to temporarily hold the skin to the structure. Next I started riveting the skin to the understructure. This involved putting a flush rivet in a previously dimpled hole, putting the rivet gun on the rivet head, holding a bucking bar (a rectangular metal bar made of tungsten) on the other end of the rivet (under the skin/understructure) and pulling the trigger of the rivet gun. The impact of the gun drives the rivet against the bucking bar that I'm holding against the other end of the rivet. A couple of 2 second bursts (sounds like a machine gun) expands the end of the rivet as it strikes the bucking bar and permanently secures the skin to the understructure. After each one I would have to look inside the skin and see if I flattened the rivet enough. If not, I would hit it again. Sometimes I would flatten them too much and would have to carefully drill out the rivet and replace it. After every other hole was riveted I would remove the clecos and do those holes.
I finished riveting the forward spar and center rib rivets on the left and right horizontal stabilizer, both top and bottom. Next will be the rear spar and center and end rivets, which are closer to the edge so I will be able to use the pneumatic squeezer (easier and quicker than the rivet gun).
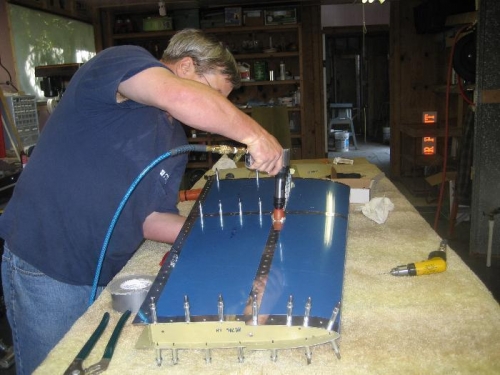
Rivet gun and holding bucking bar under the skin.
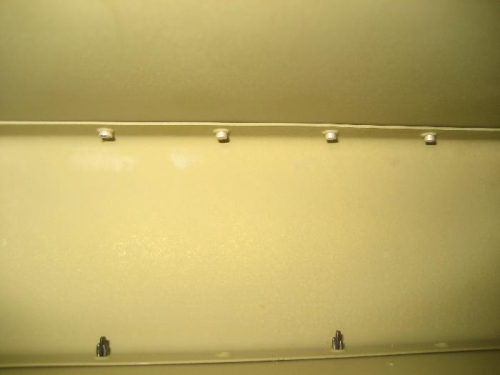
Inside rib/skin view - rivets on top, clecos on bottom.