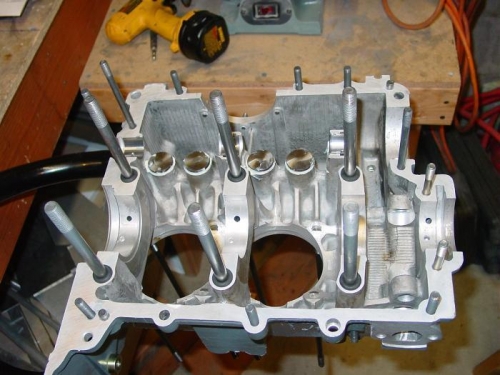
Unmasked the case half's and am pleased. Put the left case half in the rotating stand.
Install head studs per spec. Sealed per Tom Wilsons book.
Placed the oil pressure relief plungers; one of these may ultimately be replaced by a manually adjustable device to assist in assuring adequate oil pressure. I have this but as it is a very simple installation will defer this until I know that it is needed.
Installed main bearing stud seals- 6.
Installed cam bearings. This required filing an alingment tab from the right flanged bearing as there is no provision for this flange in the case; this per manual specification. That particular bearing (and is left mate) fit tightly upon the camshaft. So much so that no movement was possible. Research of the AeroVee archives reveals this is not uncommon and per Sonex, LLC as very minimal "polishing of the side is required. This took only a few seconds of contact on a Scotchbrite wheel and all was well.
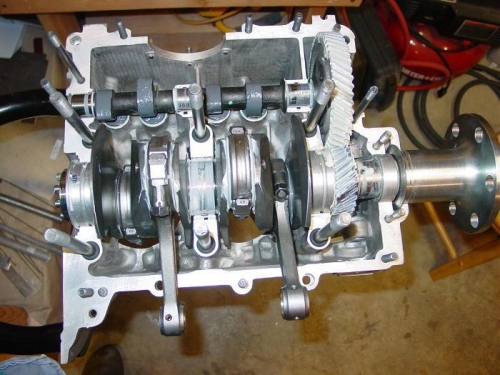
Installed valve lifters. Installed dowel pins to case half's and then placed the split main bearing into middle journals. Greased per spec. Greased and installed main bearing #4. Placed crank and verified pin alignment. Used the moly assembly lube to each lifter and all lobes of the cam. Test fit cam and placed opposing case halves. No interferrence noted. Removed left case half. Aligned and placed cam shaft/cam gear per spec.
Attempted to place flywheel -which went on very well, but the 36mm socket I had purchased to tighten the gland nut was out of spec and would not seat upon the gland nut. Therefore, had no way to seat the flywheel. Played with the endplay mearsurement and shims but will have to wait until the flywheel can be properly seated as this will undoubtably effect the endplay result.