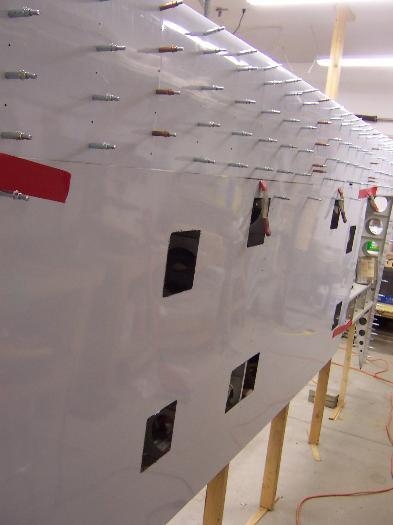
I put the panel on the wing and drilled it to the ribs. I had a reference line on the top for the panel to line up with. Clamping the outboard end tight I used duct tape on the inboard end to pull the panel as tight as I could. My other wing has one bay that kind of "oil cans" so I'm trying to eliminate any of that this time.
Pulling the panel tight this time did make a difference - I don't see any "oil canning" this time.
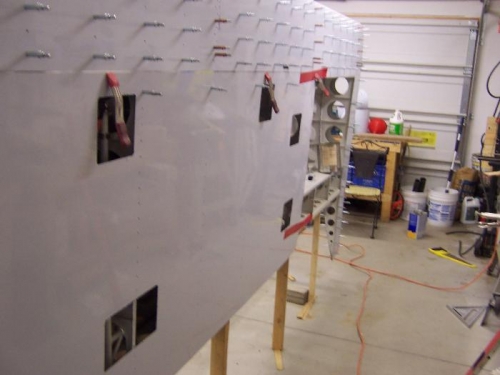
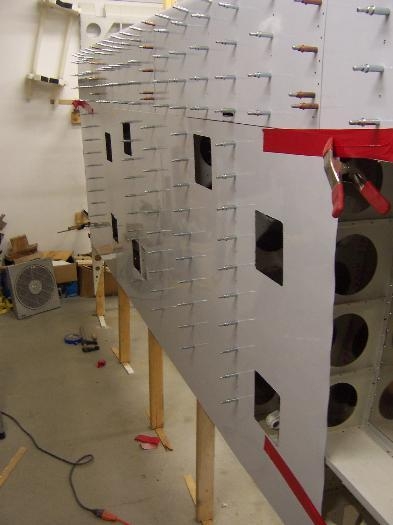
With the bottom panel on the wing I marked the ribs that haven't been drilled yet. Then I took the panel off and predrilled the holes and trimmed the end at the main fuel tank. The original layout lines were actually right on so I really didn't need to do this in two steps. I put the panel back on and drilled the remaining ribs.
Today was such a nice day that I only spent a few hours in the shop. It's the first time since last year I've been able to work on the plane with the garage door open. I actually couldn't resist but go outside and enjoy it for the rest of the day. I took the Chief out for the second time this year too.