Brief Description: Cut hole in wing leading edge for light
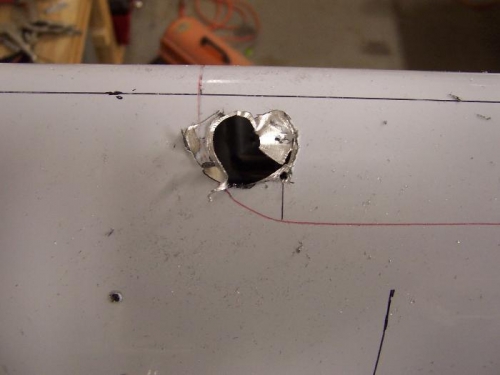
It's a little nerve racking to think about cutting into the wing skin. It took me about 30 minutes to realize my worst fear - SHREDDED METAL! As I was drilling the corner holes the bit caught and ripped up the metal. I got an instant sickening feeling. It looked pretty bad and I even considered walking away. After taking a close look I decided to take the panel off the wing and see if I could salvage it. (I should have used a stepped Unibit.)
It was a little frustrating because part of the reason I spent more than 9 hours working on a mock up was to avoid this very situation.
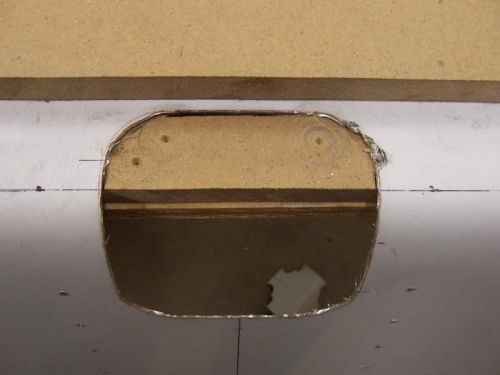
With the panel on the table I cut away all the shredded metal and finished making the rough cut on the hole. I laid out a new line on the damaged side cut to the line. I filed away until there was no scuffed up metal remaining in the damaged area. Instead of filing to the line on the good side I filed away as little as necessary. I put the panel back on the wing and did the final filing.
Once the hole was filed clean I measured the opening to see how much it grew. It was only 1/8" wider than planned and shifted slightly outboard. Well within my satisfaction so it will work out just fine.
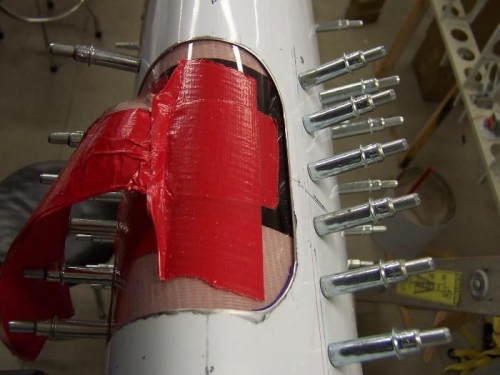
Next I worked fitting the lens. I clecoed the top retaining bracket and cut and fit the lens. Then I clecoed the bottom strip and trimmed the bottom of the lens until it just popped into position when pulled tight.
What started out as a disaster has worked out okay. My confidence suffered a little though. Next wing I'll use a stepped Unibit or pull the panel off the wing to cut the hole.