Brief Description: More landing light lens progress
After losing some confidence I decided to play with the mock up some more. I actually cracked the practice lens while doing some drilling experimenting then eventually cracked it right in half trying to fit it. It actually helped doing this because I figured out what wouldn’t work and what would. Having done a little practice drilling on the plexi glass before with a modified drill bit I decided to get the drill bits meant for plastic - these work a lot better. Also I used the same counter sink tool that I did for metal but I figured out you have to move it very slow. I put it in my hand held drill and turned it at a very slow speed. If you spin it too fast it makes micro cracks.
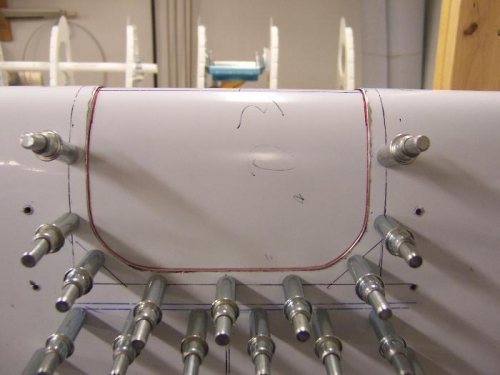
Once I had it all figured out I got back to the real deal. I laid out the locations on the wing of the screws for the lens backing bracket. I drilled the holes using a #40 bit then opened them up to #30. I fit the lens into position then drilled it with the 1/8" plastic bit. I made a backing ring as noted on the Bearhawk CD and match drilled it to the lens. For the center cut I used the cutout on the wing to match it by clecoing the piece inside the hole and marking it. The last thing I did was counter sink all the holes in the lens - no cracks! :-)
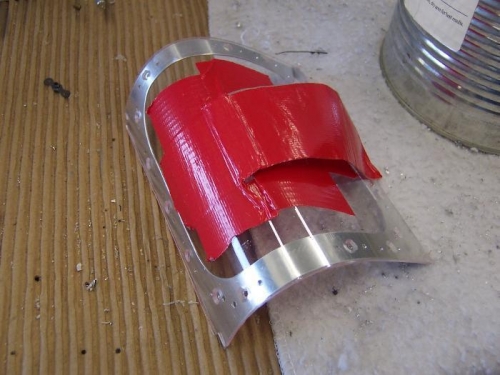
I wanted to see how it would work putting everything together. I set the light then tried to fit the lens but I found I had to get the lens in the hole before I could fit the light in. So I had to put the lens in the leading edge then work around the lens to set the light. Kind of a pain in the butt. After working with it a while a got everything put together. After the light is set I pulled the lens into position with duct tape.
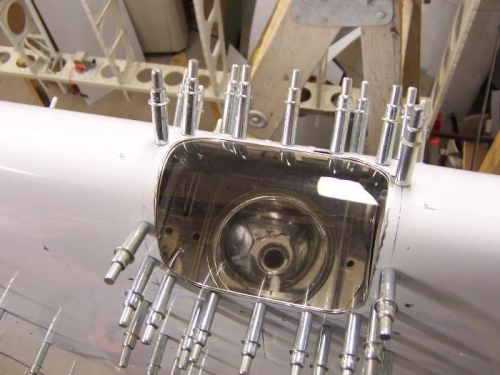
It's not an ideal set up but it works. Actually I'm pretty happy with the end result it's just a little difficult for the initial setup. But then again once it's set there's really no reason to get at it again except to adjust the beam angle. You change the bulb from the back so you don't need to remove the lens.