Brief Description: Bottom skin drilled and clecoed
I wasn't sure I was going to be able to get out to the garage and get anything done today since it's Thanksgiving. I woke up early before anyone else did so I decided to head out to the garage. I was kind of anxious to drill and cleco the bottom skin.
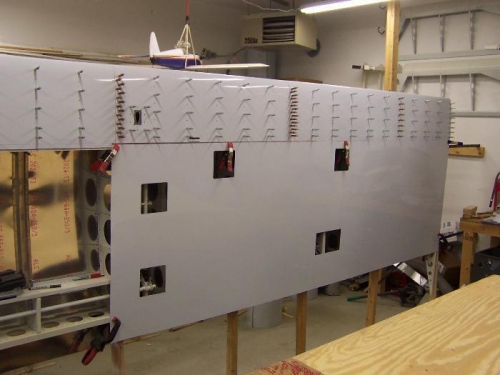
I finished cutting the inspection holes in the bottom panel. Even though I had marked all the ribs off the plastic sheet I decided to clamp the panel to the wing anyway and double check it. After clamping and marking them and removing, everything looked good so I laid out the panel for drilling. By the time I was ready to position it on the wing Andrea was up so she helped me. We clamped the panel into position then I started drilling. Andrea came behind me and clecoed each hole to the rib. With the two fo us working together it went pretty quick.
After the initial fitting I decided to cut a couple holes where the aux tank panel will be for easier access. It's funny because after marking the other holes from a known location using the plastic sheet, blindly locating these holes was a little nerve racking. I double checked and triple double checked multiple times! I kept telling myself "third bay from the wing tip, third bay from the wing tip." I think on the next wing I'll mark these holes just for comfort. I wasn't even cutting to the final size and it still was unnerving.
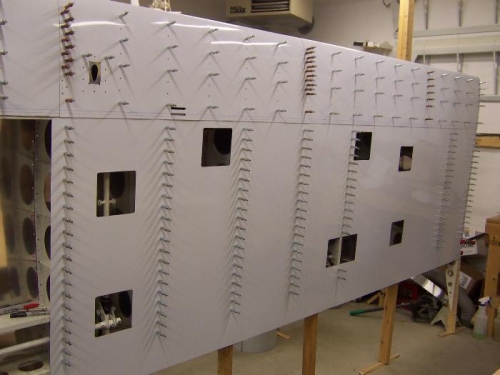
I didn't predrill the ribs on the sides of the aux tank bay because I want to mark the edge with the skin clecoed into position. That will give me a good reference line for final cutting too.
Initial Fitting of the Bottom Panel
Bottom Panel Drilled and Clecoed (except for aux tank bay)